
Cheap moving parallax cloud shader for Godot
Last Updated on 30. May 2025
In this tutorial we’ll dissect a Godot engine cloud shader that I’ve created for a game I’m currently developing (see my other postings about the foliage wind and terrain shader if you are interested). The goal of this cloud shader was to create an easy to use, flexible and cheap solution that still looks natural.
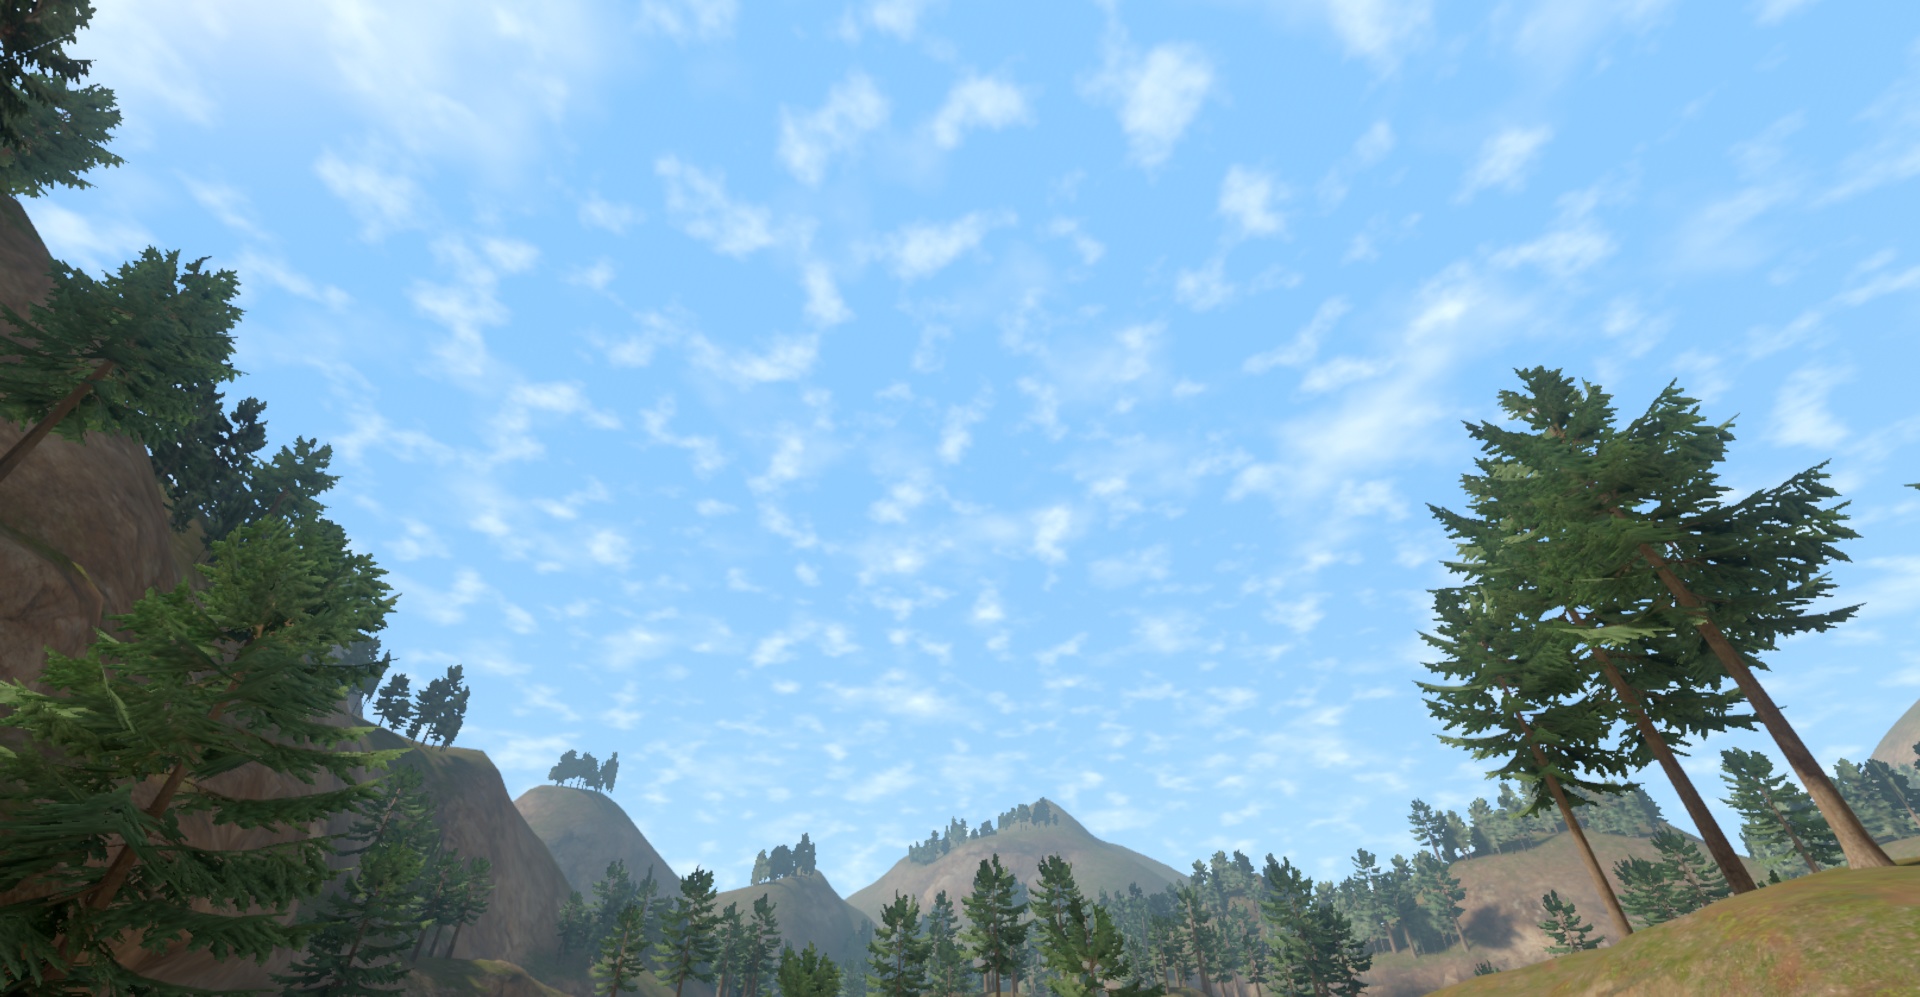
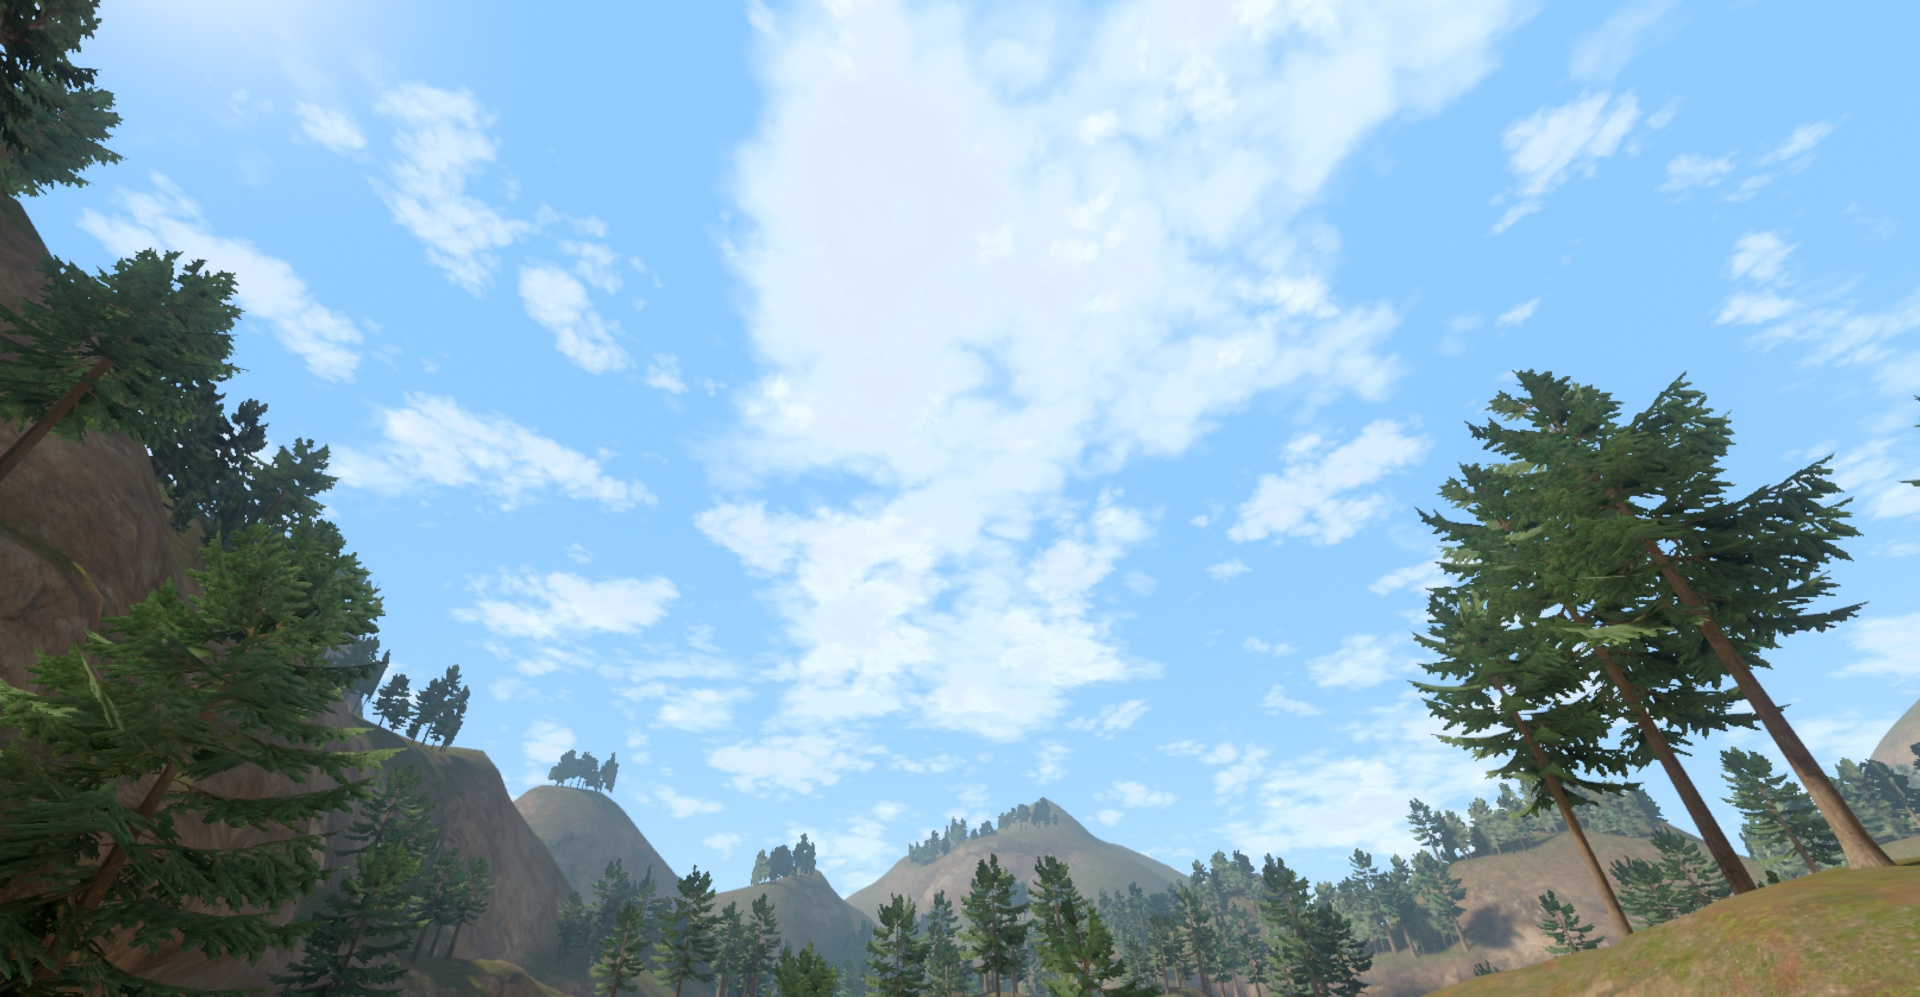
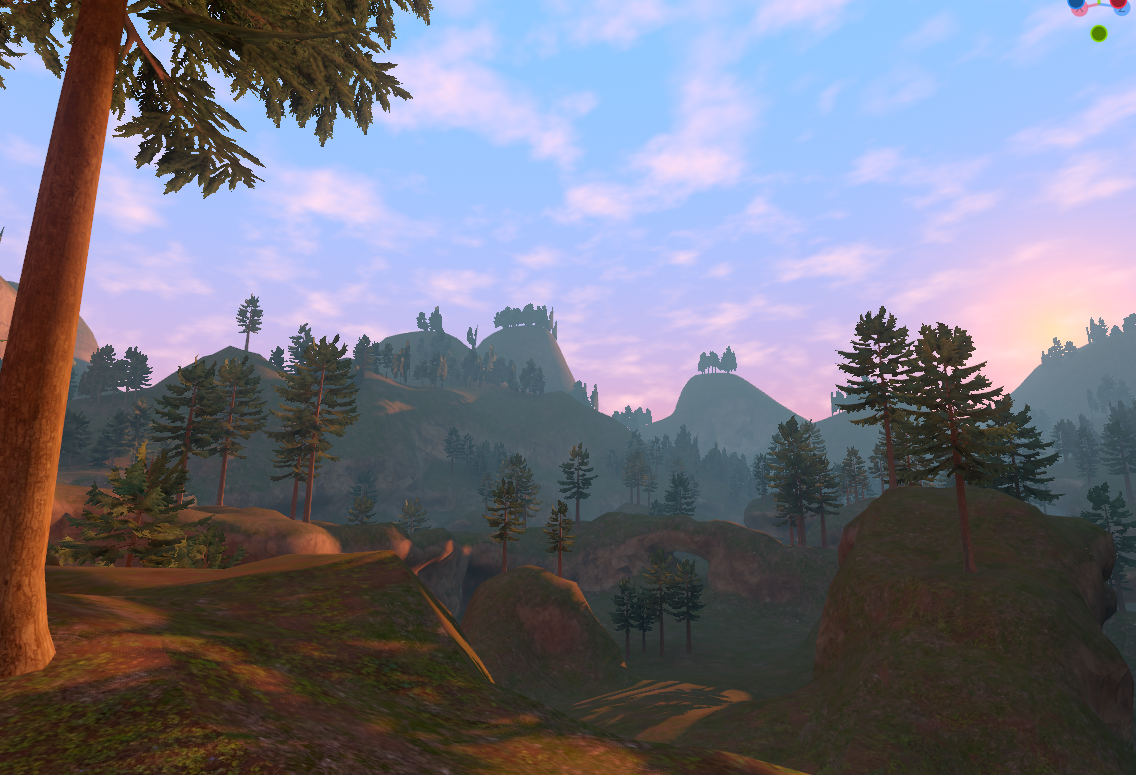
Let’s see it in action first before diving into the shader graph. Here’s what it looks like when the camera pans around. You’ll notice two separate cloud layers shift against each other.
By using different noise textures and color ramps, various types of clouds can be produced.


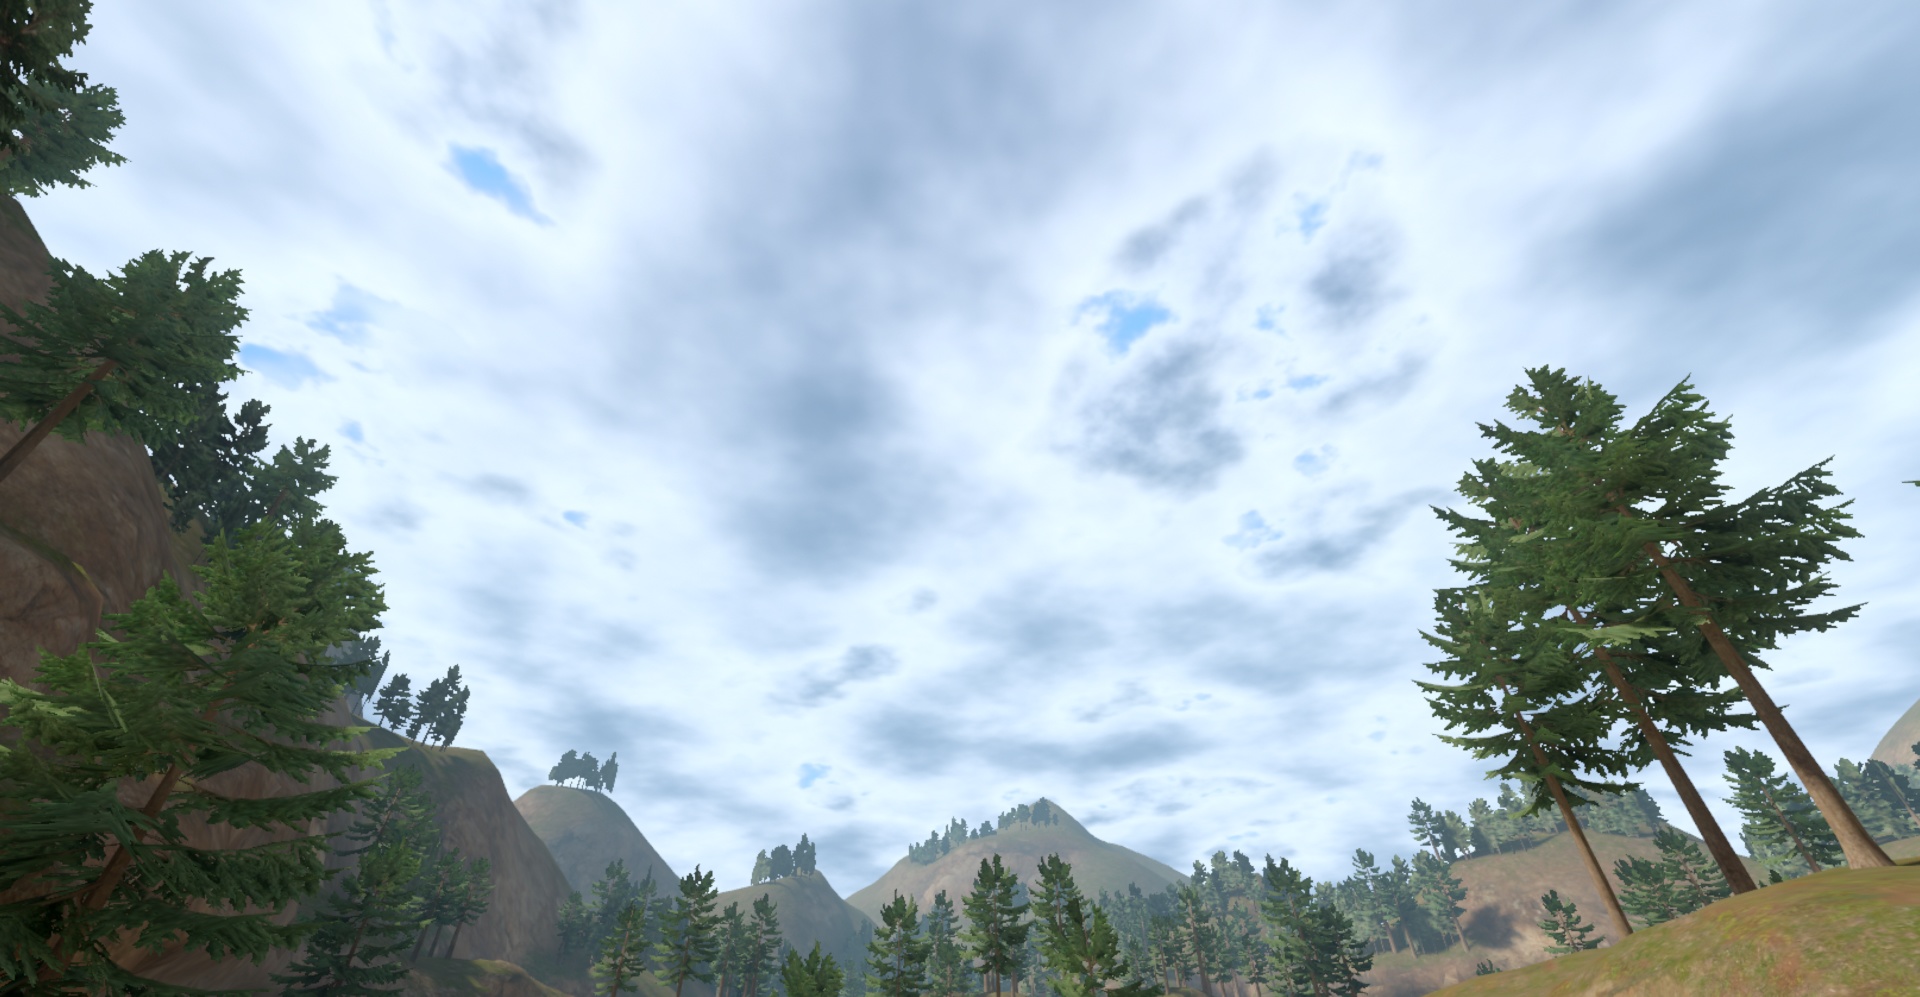
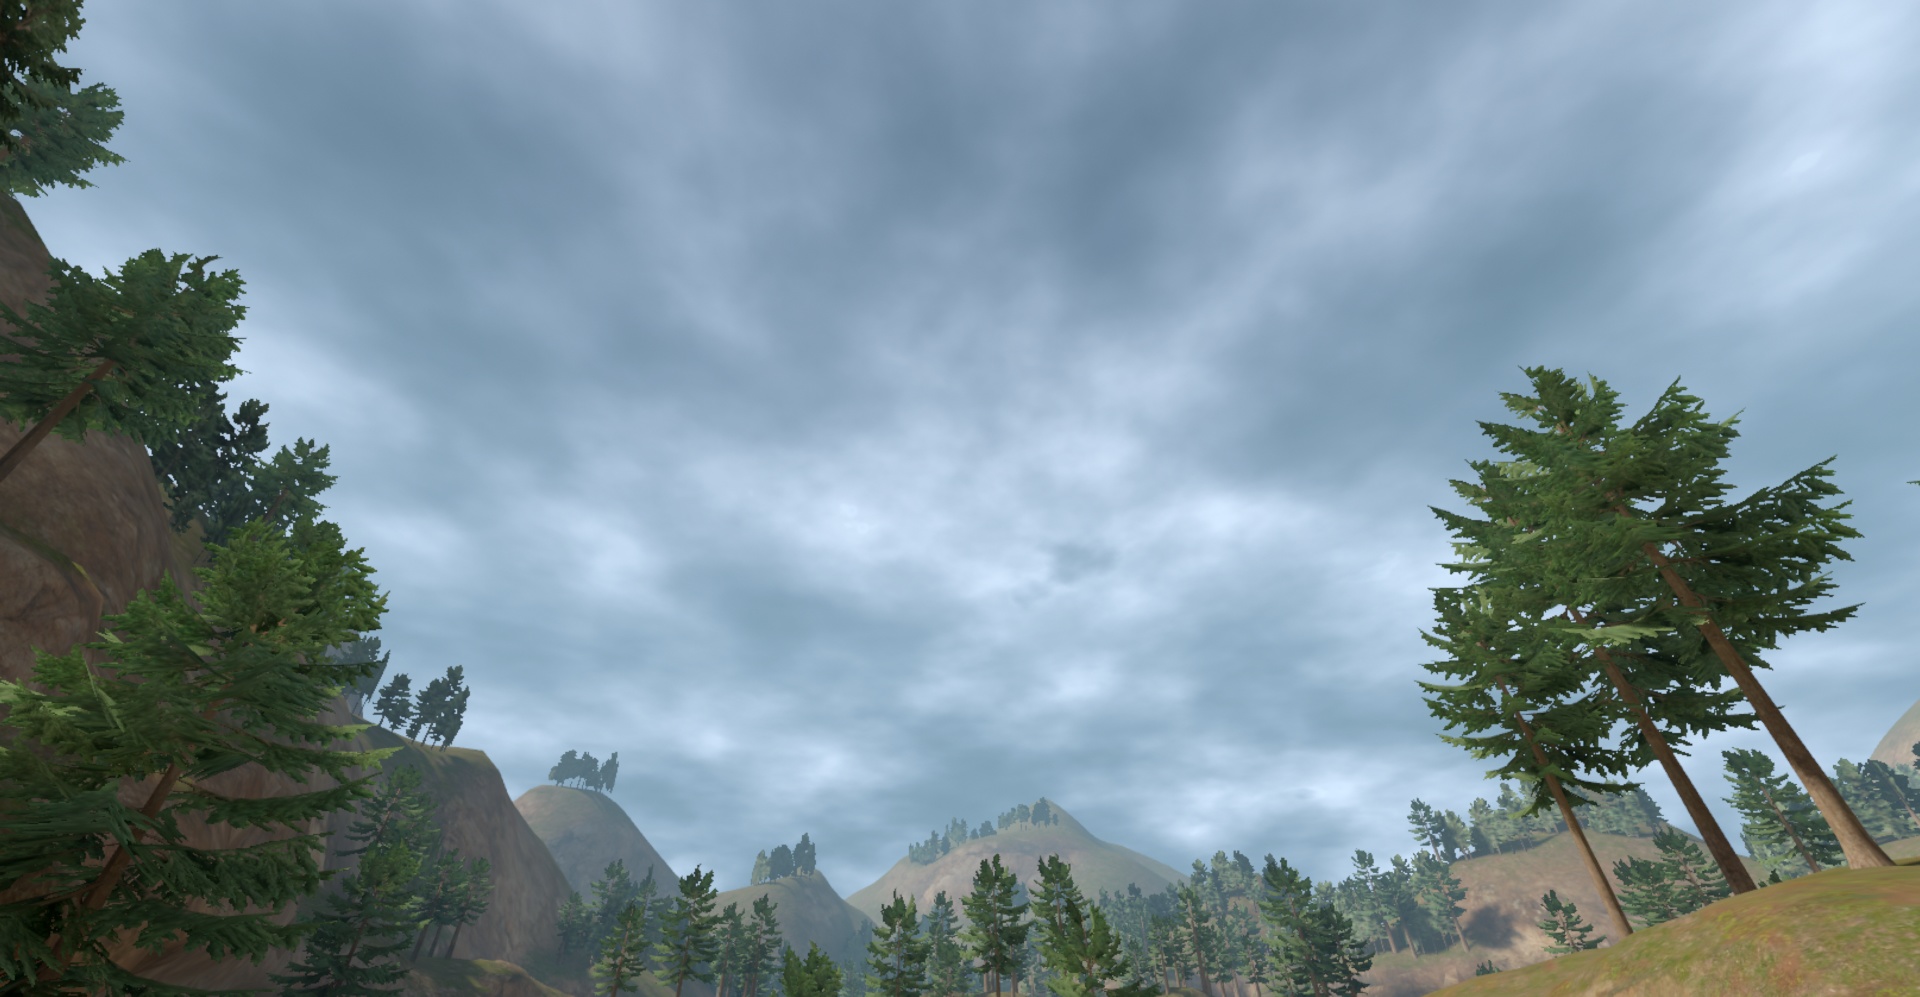
And the clouds’ colors also react to the scene’s lighting. Here’s a calm evening shot:
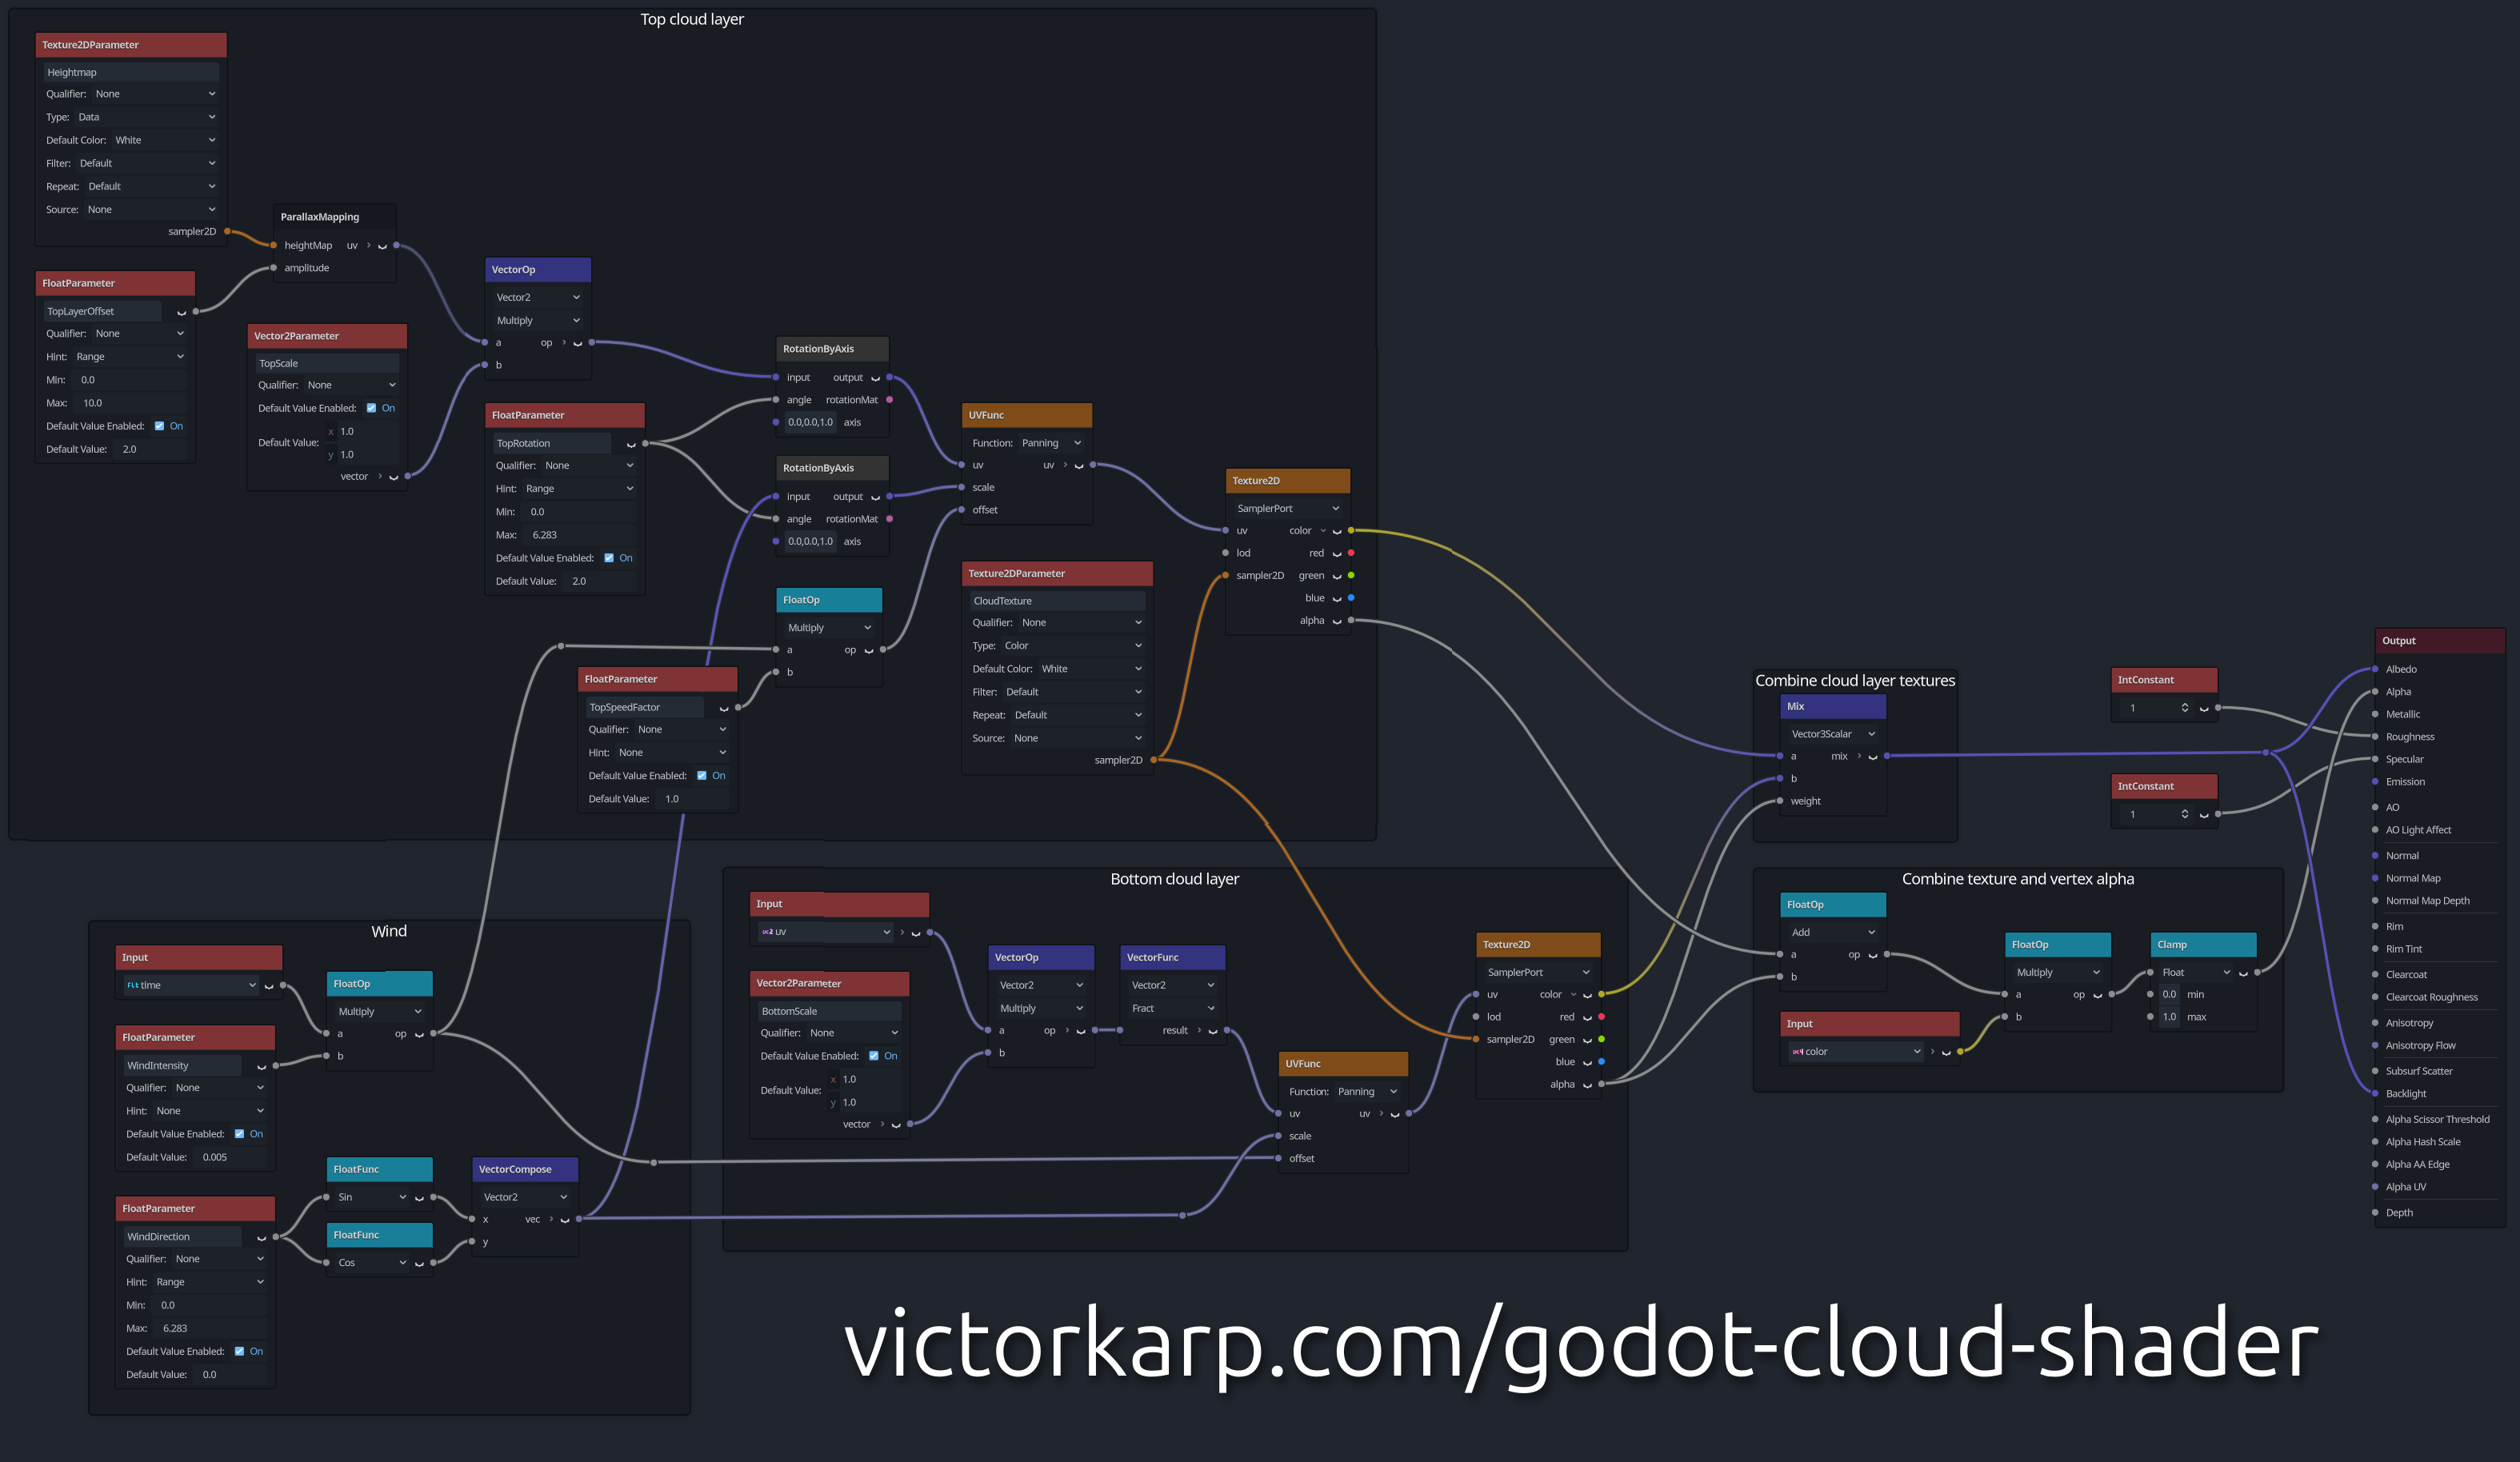
This is the entire shader. Feel free to use and modify it. Attribution is always welcome but not required.
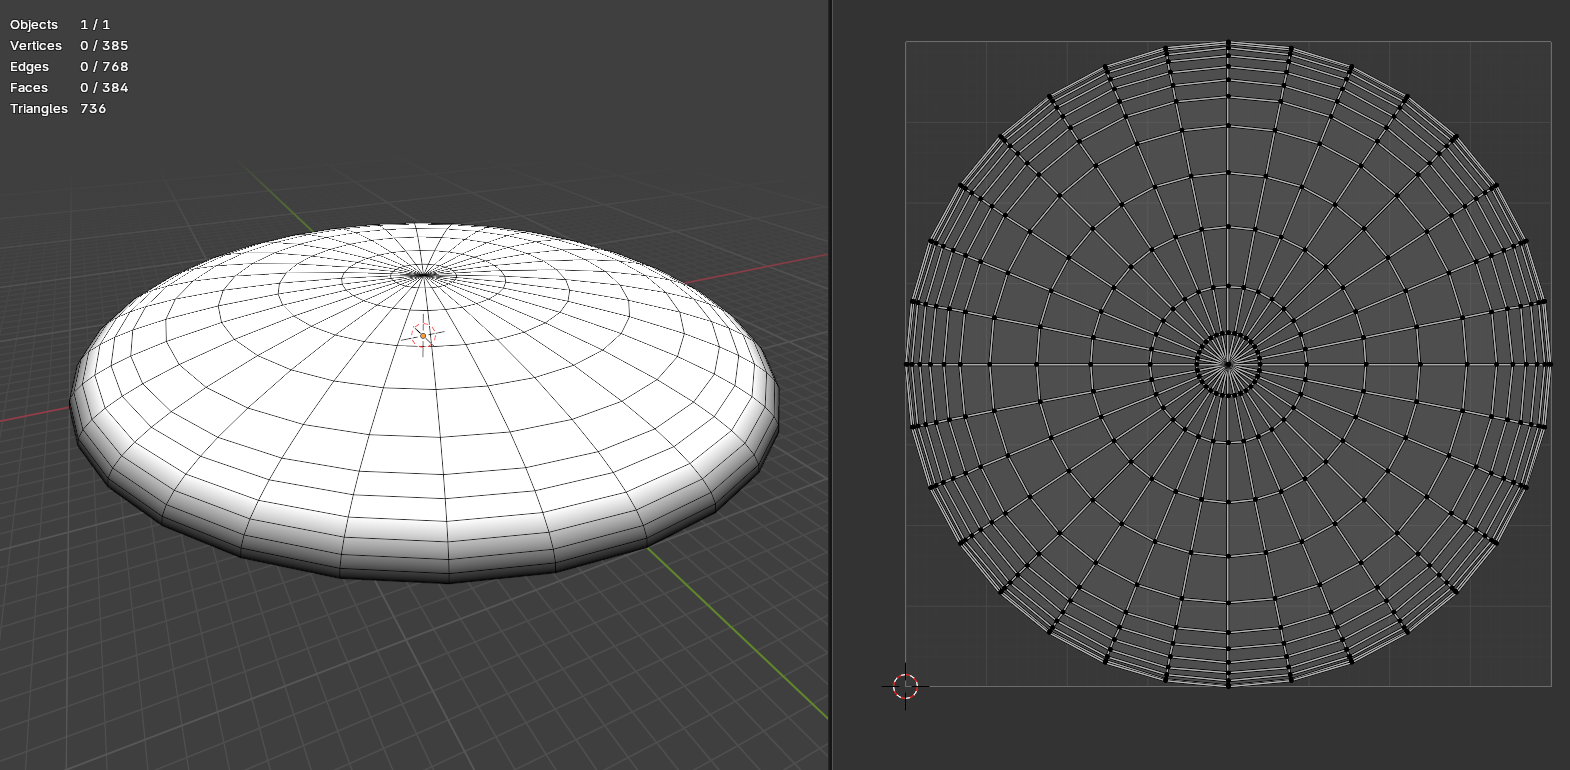
The cloud dome mesh
This shader needs to be applied to a mesh. I’m using a dome shape created from a UV Sphere in Blender with a diameter of 4km and a height of 400m. The open edge at the bottom uses a black vertex color, the edge loop above it is middle gray, everything else is white. This vertex color is used in the shader to fade out the clouds at the bottom. This isn’t strictly necessary, but it can help with avoiding sharp cloud edges depending on how the dome is used.
The UVs are unwrapped from the top via Blender’s Project from View unwrap method.
There are two cloud layers, but the second layer doesn’t need additional geometry. It’s generated by using parallax mapping. More on that later.
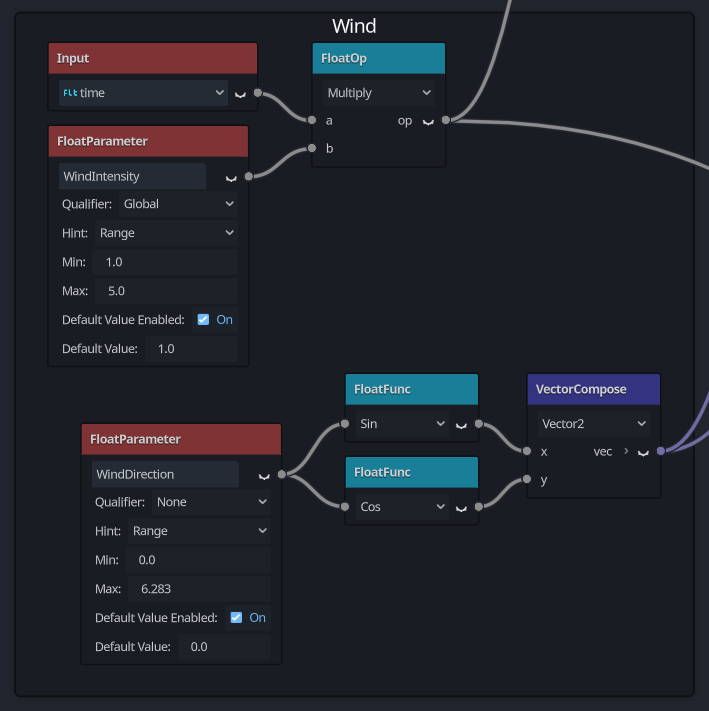
Creating motion with wind
The shader is very simple conceptually. Let’s start with how the movement works. There are two parameters: WindIntensity and WindDirection. WindIntensity controls the speed. It is multiplied by Time to generate an ever increasing number that can move the UVs around.
WindDirection uses radians to control the direction. 0 moves to the east, 0.5 PI to the north, PI to the west and 1.5 PI to the south. The sine and cosine of this value is then used to create a directional vector. We could convert this value to degrees to make the shader more user friendly, but using radians reduces the number of necessary calculations. The goal is to have this shader run as fast as possible after all.
The bottom cloud layer

The shader uses two cloud layers that both reference the same texture. I’m using a procedural NoiseTexture2D, but you can use anything you like. The texture is loaded via a Texture2DParameter which is off screen (the orange line).
The WindIntensity is used for the UVFunc’s Scale, the WindDirection for the Offset. The UVs can be scaled by a BottomScale value.
The top cloud layer
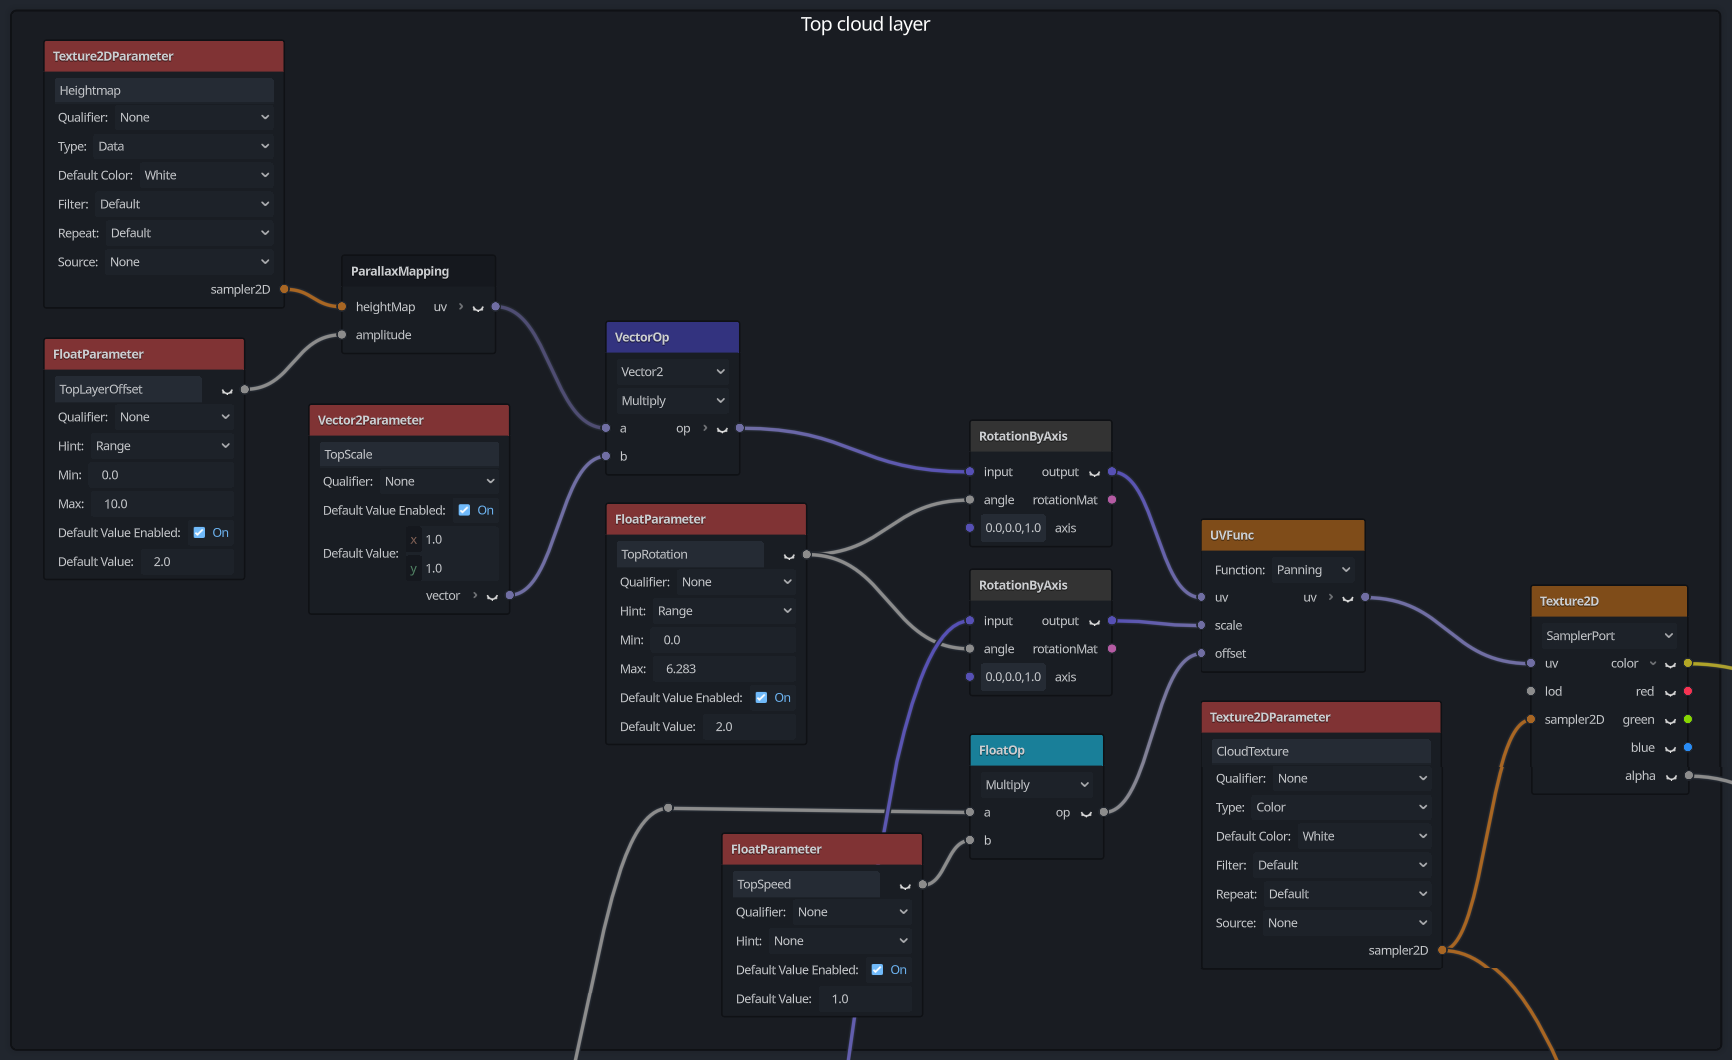
The top layer is a bit more complex. Because we are reusing the same cloud texture for both layers, we need to rotate the top layer so there are no obvious repetitions. We do this by rotating the layer’s UVs and the WindDirection by the same TopRotation value. If we wouldn’t rotate the WindDirection as well, the clouds would no longer move in the same direction as the bottom layer.
The UVs are also scaled by a TopScale value – this again gives us the option to tweak the appearance. It’s also helpful to break up the repeating patterns a bit more by using values like [0.9, 1.1].
A TopSpeedFactor is used to scale the layer’s speed in relation to the bottom layers speed.
Instead if implementing the parallax logic myself, I’m relying on the Shader-Lib plugin’s ParallaxMapping node. You can install Shader-Lib from inside Godot by using the AssetLib tab. Make sure to include the hyphen when searching for the name.
The ParallaxMapping node requires a height map to work, but we don’t actually need to use a texture. I’m instead using a blank Texture2DParameter. The node’s Default Color is set to white, which is exactly what we need to push the entire layer up. How far the layer is pushed is determined by the TopScale value.
Calculating albedo and alpha
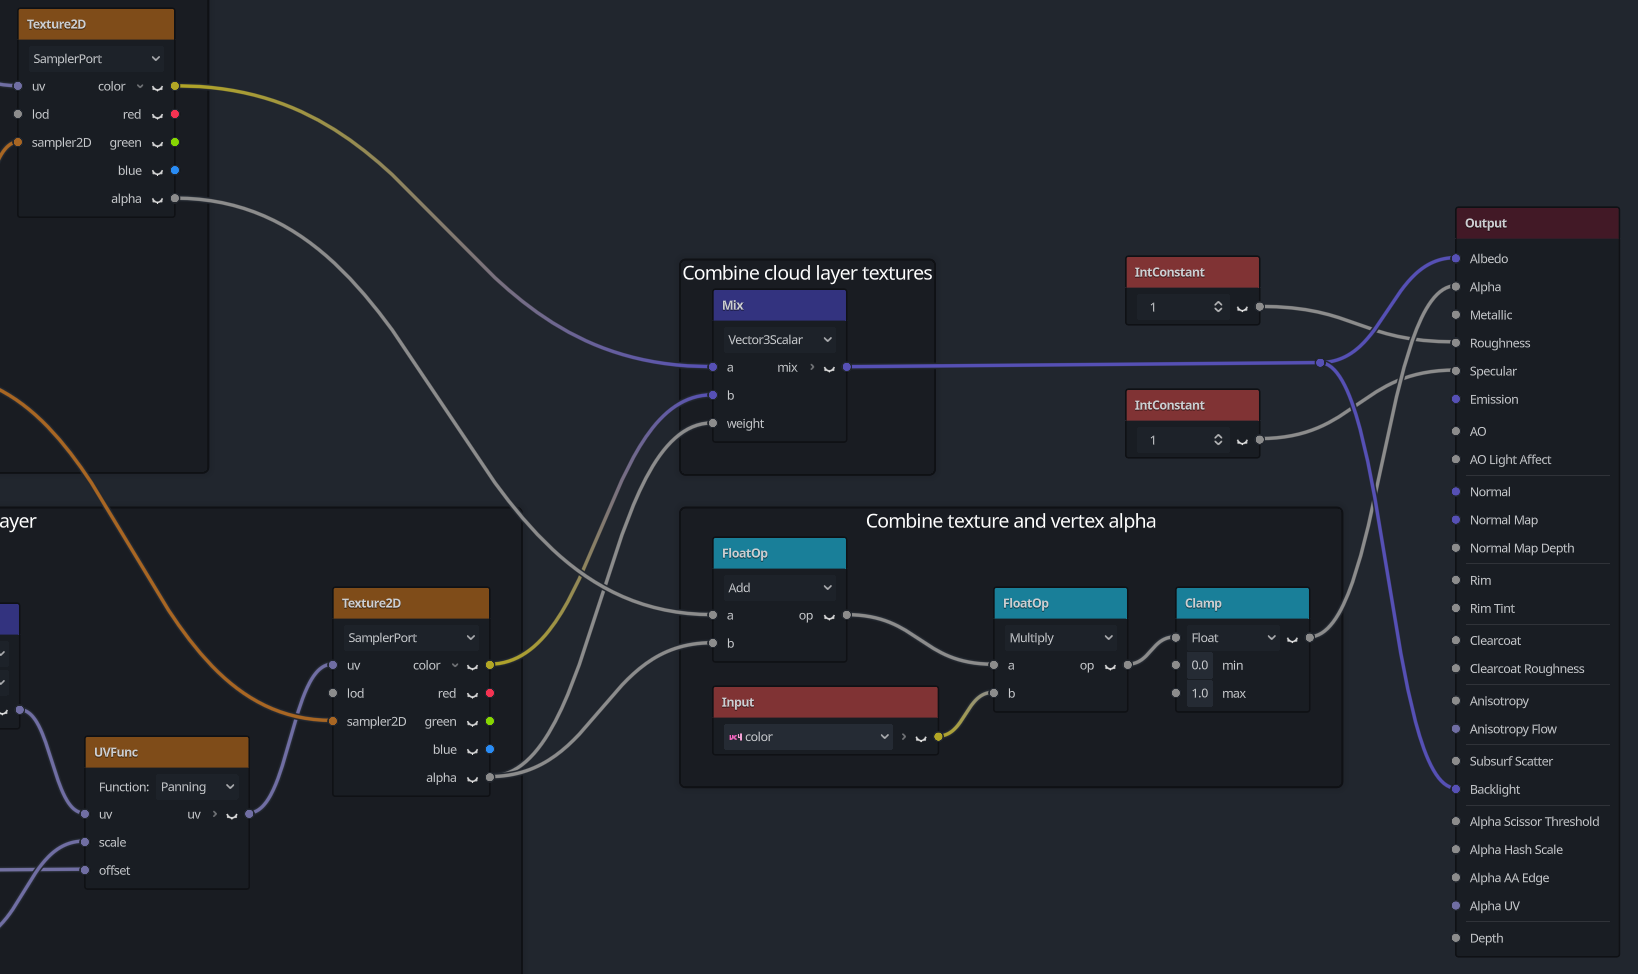
The final albedo is generated by mixing both cloud layers. The bottom layer’s alpha is used as a mask, because it should be visible in front of the top layer.
For the final alpha value, we add both layers’ alpha channels and multiply them by the vertex color to fade the clouds at the dome’s bottom edge. The values need to be clamped to avoid visual artifacts, because adding both layers produces values above 1.
The cloud Albeo is also reused for the Backlight value. This is crucial to make the lighting work at all. Without this step, clouds would look dark and dull when viewed from below.
The cloud material
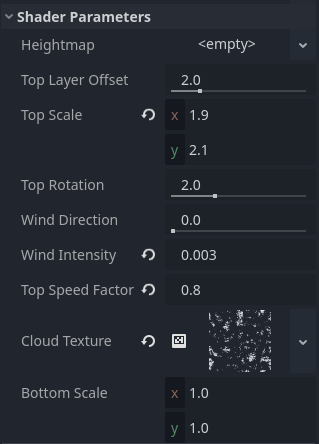
This is what the final material looks like. The Heightmap value is intentionally left empty, because we only need the default white value provided by the parameter.
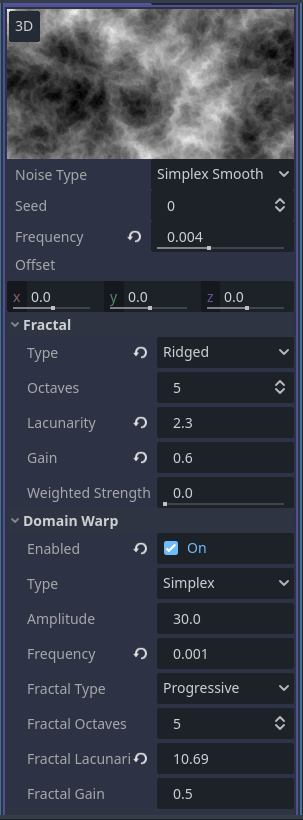
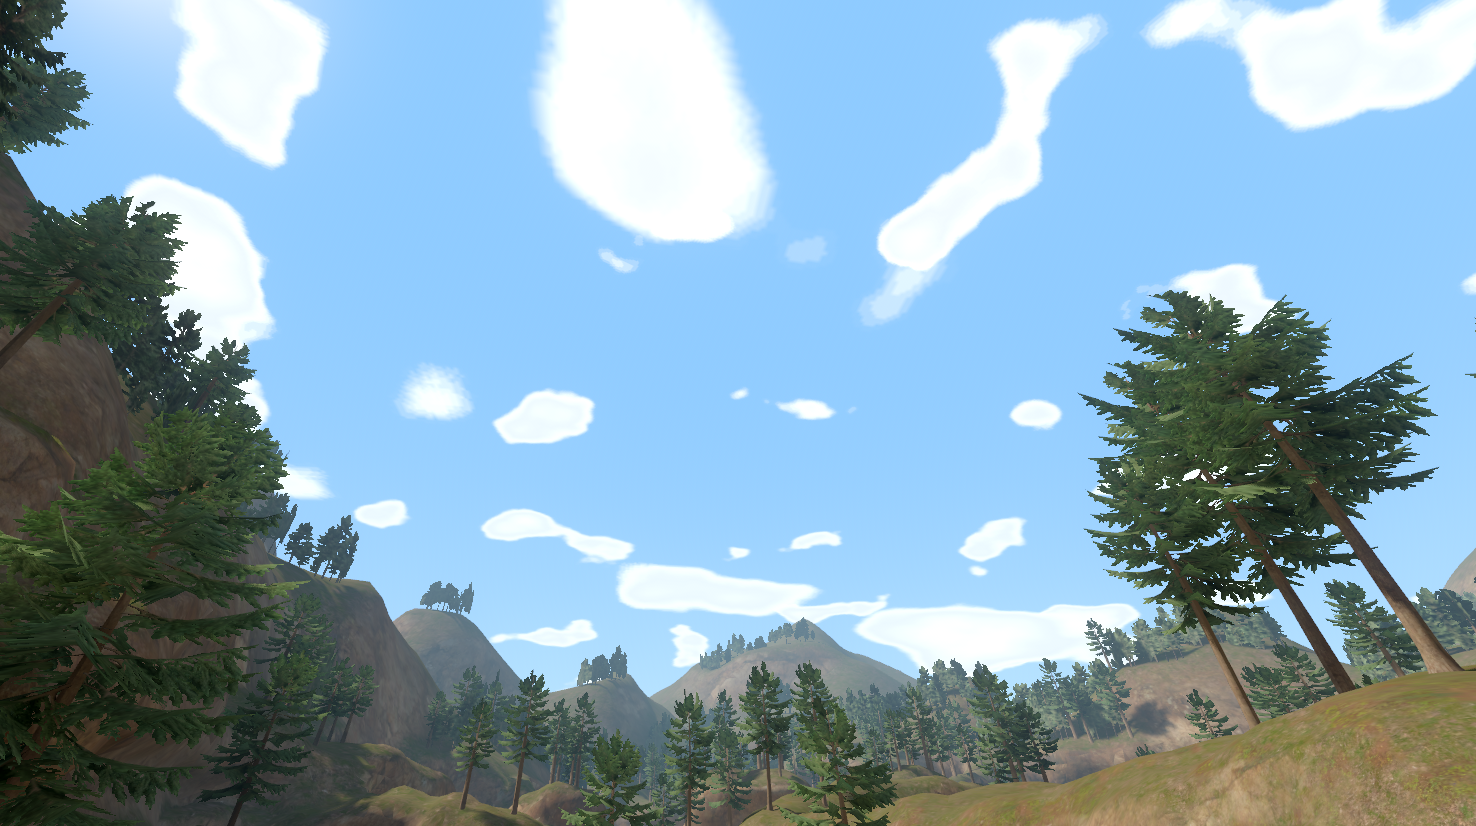
The entire visual is then generated by the NoiseTexture2D’s color ramp and the texture’s noise values. In the following example, the color ramp uses 3 points that define which range of the noise is shown and which colors are used for it. The noise itself defines the overall appearance. By tweaking both the color ramp and playing around with the noise, you can create countless cloud shapes. The values shown in this example generate cotton-wool clouds.
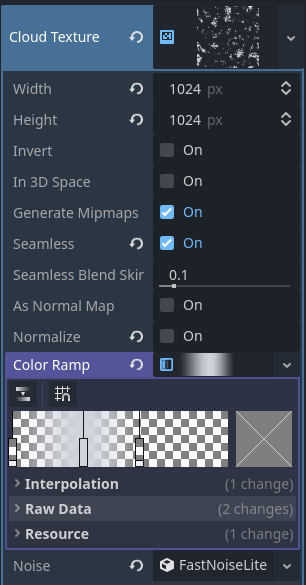
We can also easily create something more cartoonish if desired:
Have you used the shader to create your own clouds? Ping me on X! I’d love to see what kind of clouds other people come up with.
Visit the Godot Tutorials main page for more Godot tutorials