Git Tutorial for beginners: How to install Git on Windows
Last Updated on 31. January 2022
This tutorial helps new Git users installing Git on Windows and choosing the right options. Git can be downloaded for free from the official Website
Information / Select Destination Location
The first two Git setup screens only contain licence information and the option to change the installation path.
Select Components
The third screen contains the first interesting options:
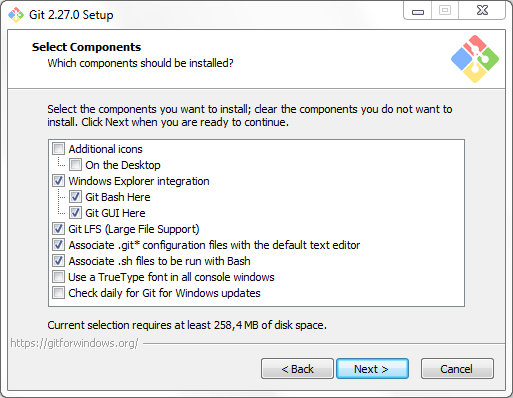
Checking Windows Explorer Integration adds two entries to your right-click menu. Git Bash is a console that allows controlling Git by using text commands (not advisable for beginners). The Git GUI is a graphical user interface that adds a tool with buttons and menus for easier access to these commands.
The standard GUI does the job and is usable, but there are many other GUIs for Git you can install. All of them rely on your Git installation, but implement different menus and buttons. I recommend beginners to leave Git Bash and Git GUI enabled for now but also to look for a better GUI. The official Git website lists some of them. I really like to use Git Extensions.
You can leave all other options at their default value. You can let the setup create a desktop icon and have Git look for updates daily if you like.
Select Start Menu Folder
This screen asks if you want Git to create a start menu folder and if so how to call it.
Choosing the default editor used by Git
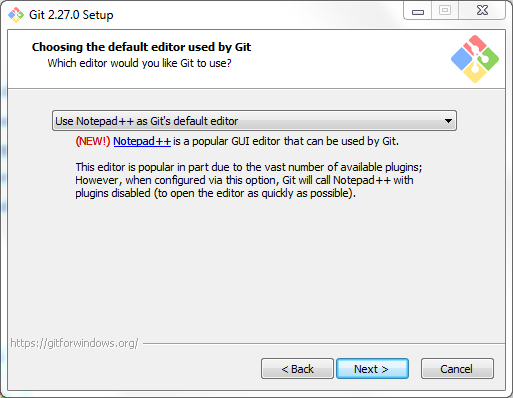
This screen asks which text editor should be used in conjuction with Git. Because I recommend using a GUI this setting doesn’t really make a difference. Nevertheless I suggest switching from Vim to Notepad++ (even the setup does not advocate Vim). You have to have Notepad++ installed to be able to select it – you potentially have to cancel the Git setup, install Notepad++ and then restart the Git setup.
Adjusting your PATH environment
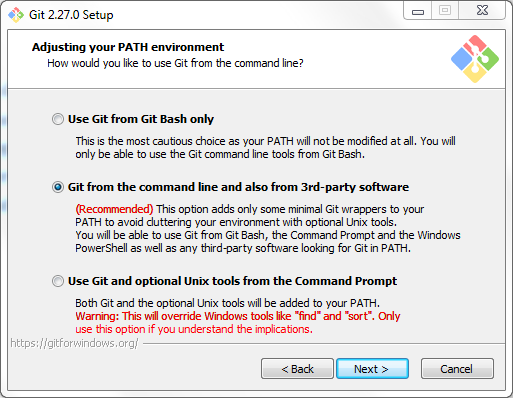
The central option Git from the command line and also from 3rd-party software remains selected. This allows you to install different GUIs later.
Choosing HTTPS transport backend
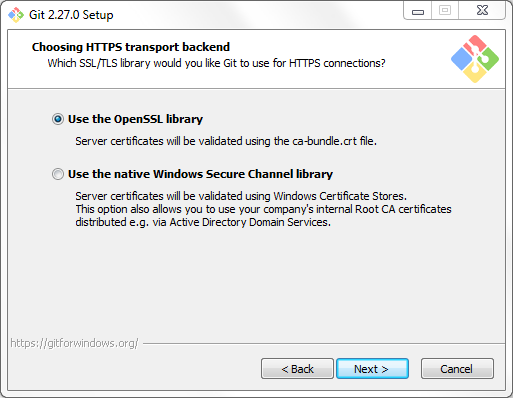
The selected option Use the OpenSSL library remains selected.
Configuring the line ending conversions
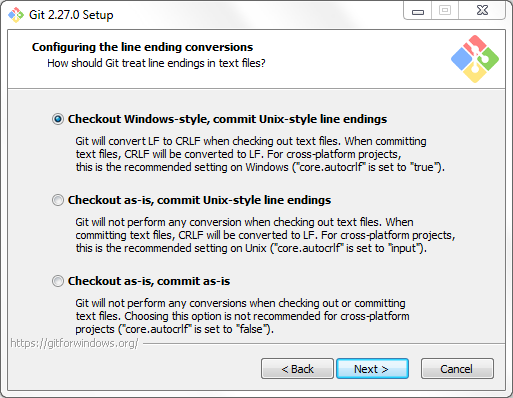
Keep the default setting Checkout Windows-style, commit Unix-style line endings selected. This avoids conflicts if the same project is worked on from Windows and UNIX (e.g. Linux, Mac) machines. There’s no downside to using this option if this should never happen.
Configuring the terminal emulator to use with Git Bash
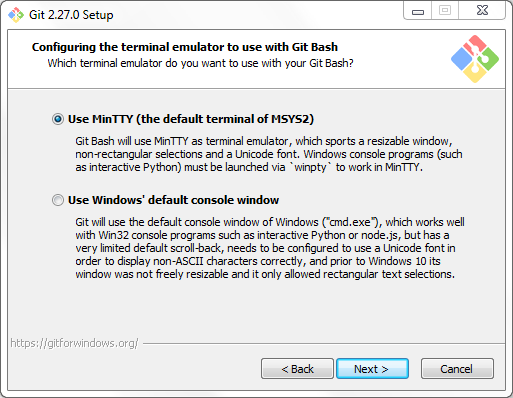
The type of console that should be used when Git is controlled using text commands (which you probably don’t want to do as a beginner). The standard setting Use MinTTY (the default terminal of MYSYS2) is fine.
Choose the default behavior of ‘git pull’
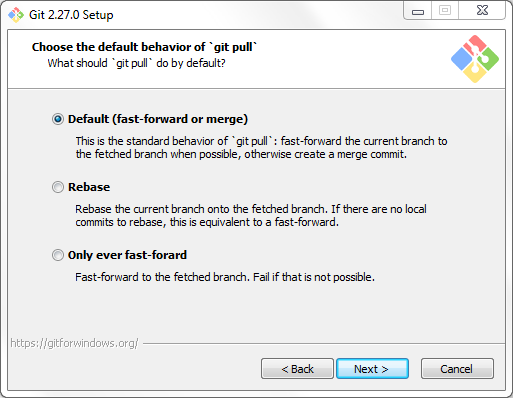
This setting determins how Git handles locally changed files whenever you download new data from a project hosted on a server. The standard setting Default (fast-forward or merge) can remain unchanged.
Configuring extra options
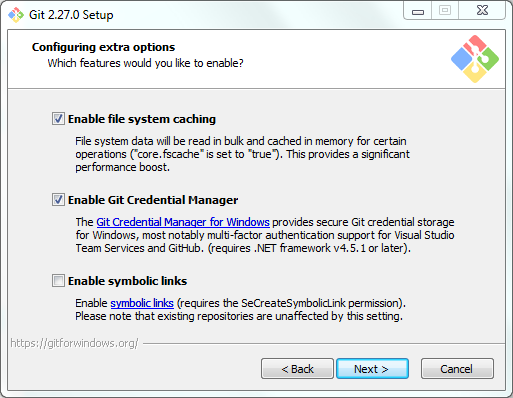
No changes necessary here as well.
Configuring experimental options
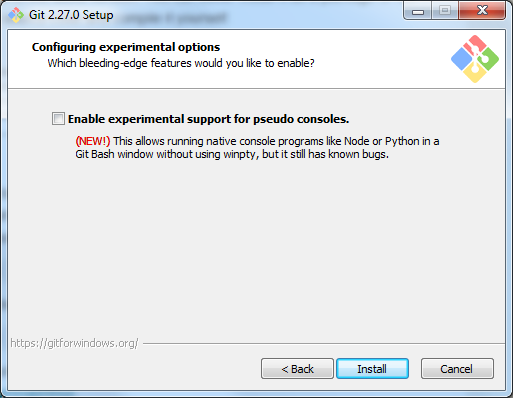
If you plan to develop console applications you can try out this new feature. Clicking on Install starts the setup.
Visit the Version Control Tutorials main page for more Version Control tutorials.

