
How to install Linux Mint on Windows in VirtualBox
Last Updated on 10. July 2023
This tutorial explains how to run Linux Mint on your Windows computer in a window like any other application by using the program VirtualBox.
What is a VirtualBox?
VirtualBox is a program that allows you to install other operating systems in a safe container on your computer and run them like applications in a window. These containers are called virtual machines. You can use them to try out different Linux operating systems without the need to remove your actual Windows installation.
There’s a limit to this though: there’s no full acceleration from your graphics card inside a virtual machine. Applications like games might not run or only run poorly. Here’s a picture of Linux Mint Cinnamon running in a virtual machine on Windows 7.

The virtual machine saves all changes you make to the system and all files you store, just like a regular computer.
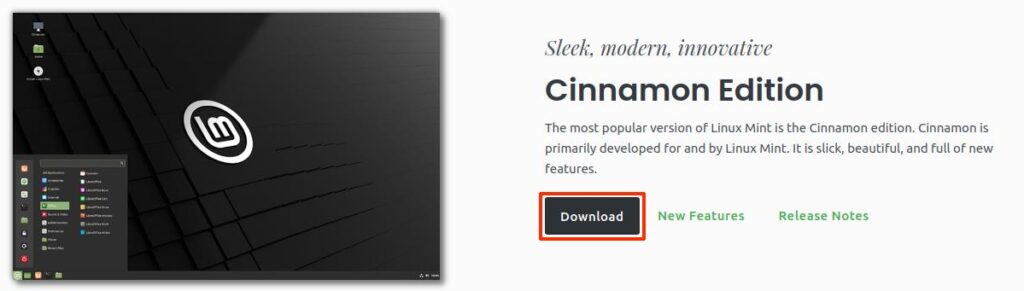
How to download Linux Mint Cinnamon
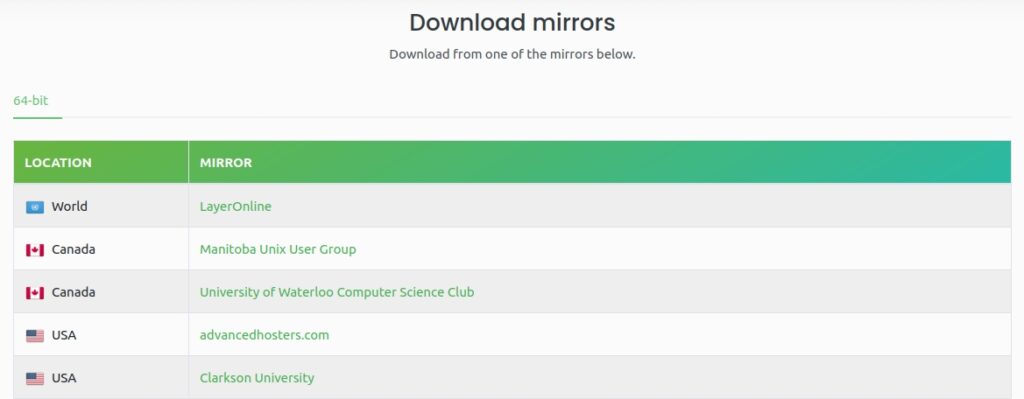
You can download Linux Mint Cinnamon on the Download page. Click on the Download button for the Cinnamon edition, then scroll down to the long list of download mirrors with country flags. These are the servers from which you can download the setup. Click on any of the names in the mirrors list. It doesn’t matter which one you choose, but the ones in your country probably download faster.
You will have a file with the file extension .iso once the download finishes.
How to set up the virtual machine using VirtualBox
Before we can use the .iso file, we need to install the virtual machine software VirtualBox. Download it from the official website. Near the top of that page, you’ll find a link that reads Windows hosts. If you click on it, a download of an .exe file will start.
The setup is very simple. Just click Continue and Yes a couple of times. You will get multiple popup messages where Windows asks you if you want to install a driver. They look like this on Windows 7:
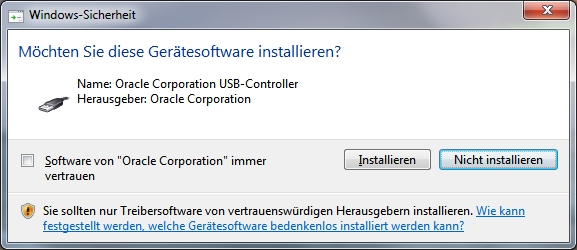
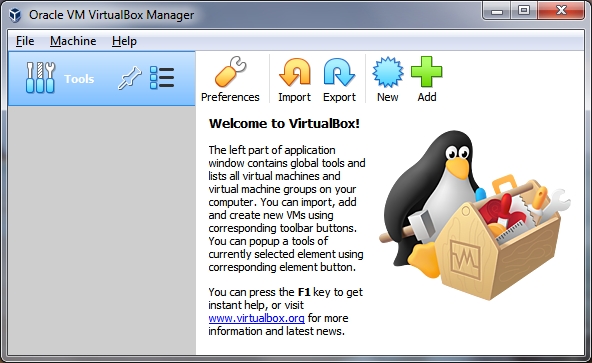
Click on Install to install them. Start VirtualBox when the setup is complete. You will then see this screen:
The next steps for setting up the virtual box are very easy, it’s just that there are quite many of them, so keep this in mind and don’t lose patience.
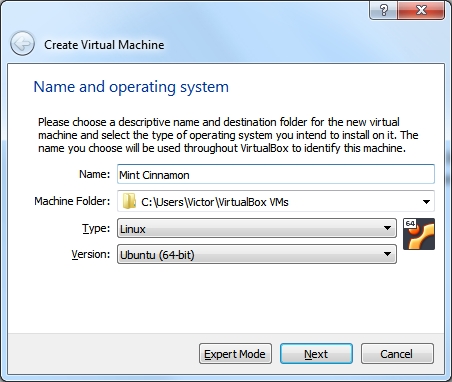
Step 1/10: Name and operating system
Please note: This tutorial was written for VirtualBox 6. VirtualBox’s UI has changed a bit in version 7. You should still be able to follow the tutorial, but some things will be slightly different.
Click on the big blue New button. A new menu opens and asks for a Name, a Folder, a Type and a Version. You can type whatever you want in the name field, but if you type something that VirtualBox recognizes it will correctly fill in the Type and Version fields. I typed Mint Cinnamon, which caused VirtualBox to correctly select Linux and Ubuntu. Linux Mint is based on another popular distribution called Ubuntu.
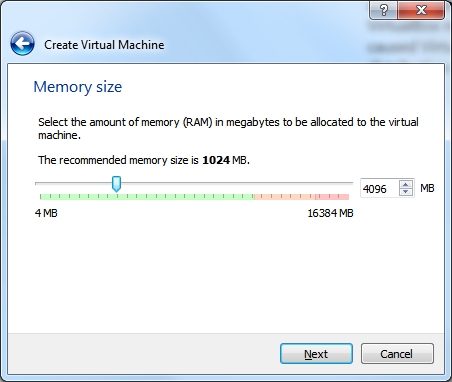
Step 2/10: Memory size
Click on Next. You then need to enter the amount of RAM that the virtual machine can use. The example screenshot shows 1024Mb, but you should use at least 2048Mb, as per Linux Mint’s System Requirements section in the FAQ. Anything above 4096Mb is probably unnecessary for testing purposes.
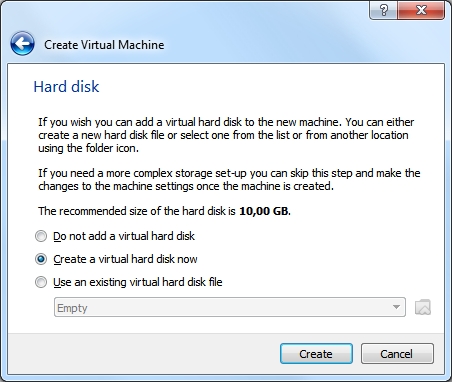
Step 3/10: Hard disk
You will then be asked if you want to create a virtual hard disk. The virtual hard disk is a file on your computer that is used like a hard disk for the virtual machine. This makes it possible to save data in the virtual machine like on a normal computer. Leave the default option Create a virtual hard disk now selected and click on Create.
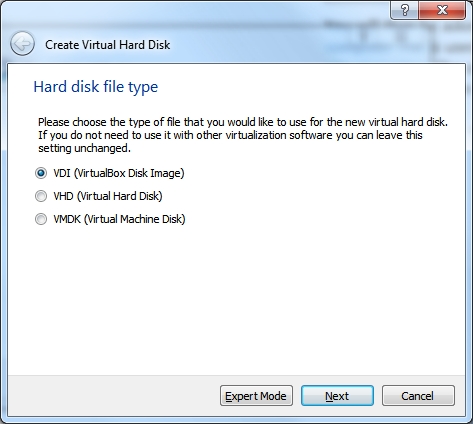
Step 4/10: Hard disk file type
Now select a disk file type. Leave the setting at the default VDI value and click on Next.
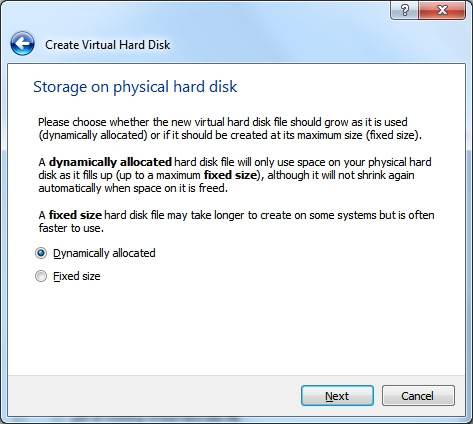
Step 5/10: Storage on physical hard disk
Select how the virtual disk should behave. Read the description and choose the option you like better. I always use Dynamically allocated .
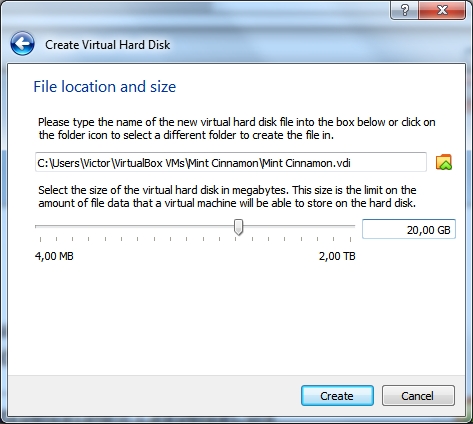
Step 6/10: File loation and size
Lastly we need to decide how much capacity the virtual hard disk should have. I chose 20Gb. Then click on Create.
If you have chosen Fixed size in the previous step you might have to wait for a while while VirtualBox reserves the necessary disk space, otherwise the window will close immediately.
Step 7/10: Starting the VM
You now have a new Mint Cinnamon entry in your list of virtual machines. Click the green Start arrow button to start the virtual machine.

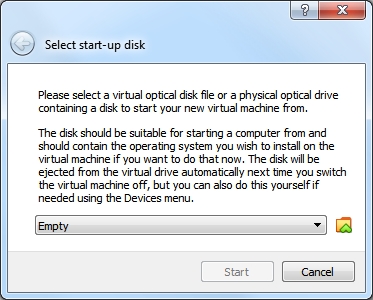
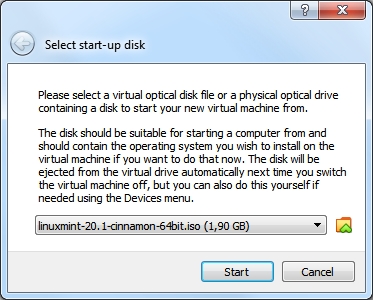
Step 8/10: Select start-up disk
VirtualBox will ask you for a startup disc. This is where we tell it to load the .iso file we have downloaded. Click on the yellow folder icon with the green arrow.
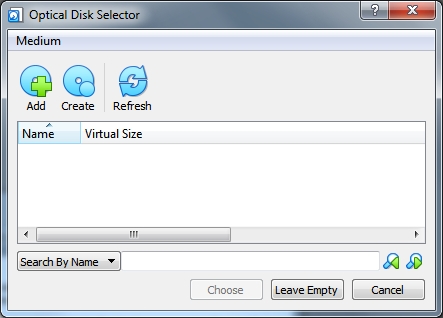
Step 9/10: Optical Disk Selector
A new window opens. Click on the Add button. Navigate to the location where you have downloaded the .iso file and select it with a double click. Then confirm and close the window with the Choose button.
Step 10/10: Ready to boot
The Mint Cinnamon .iso file should now be selected. Click on the Start button, after which Linux Mint Cinnamon will boot.
How to install Mint Cinnamon
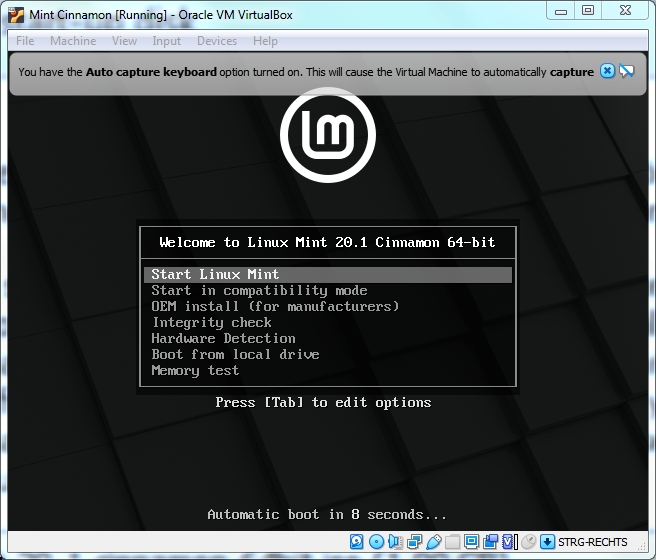
The virtual computer will now boot and you will see Linux Mint’s setup screen for 10 seconds.
If you don’t choose any other option than Start Linux Mint with the arrow keys, Mint will choose this option on its own and boot automatically.
After a few seconds of loading you will see the desktop. Congratulations, you have successfully started a Linux distribution for the first time!
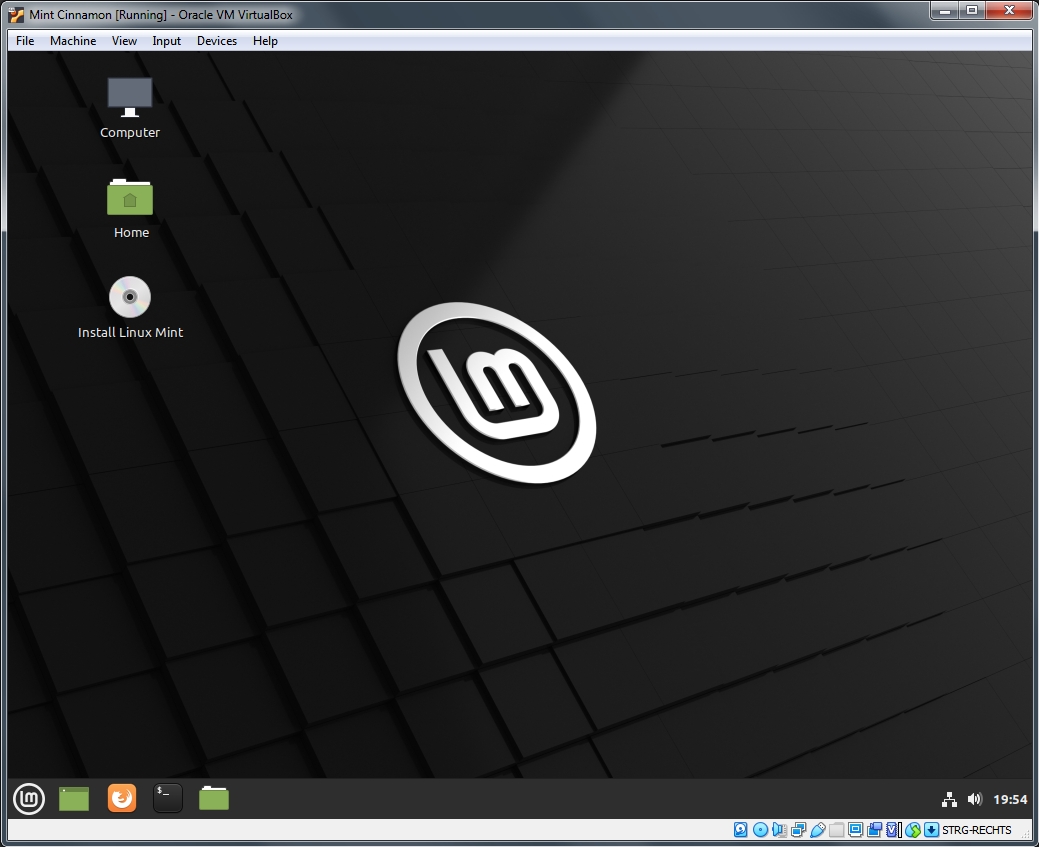
Contrary to Windows where you have to do the setup first, you can use Mint right away. Go ahead and click on the Firefox launcher in the taskbar if you want to see it for yourself.
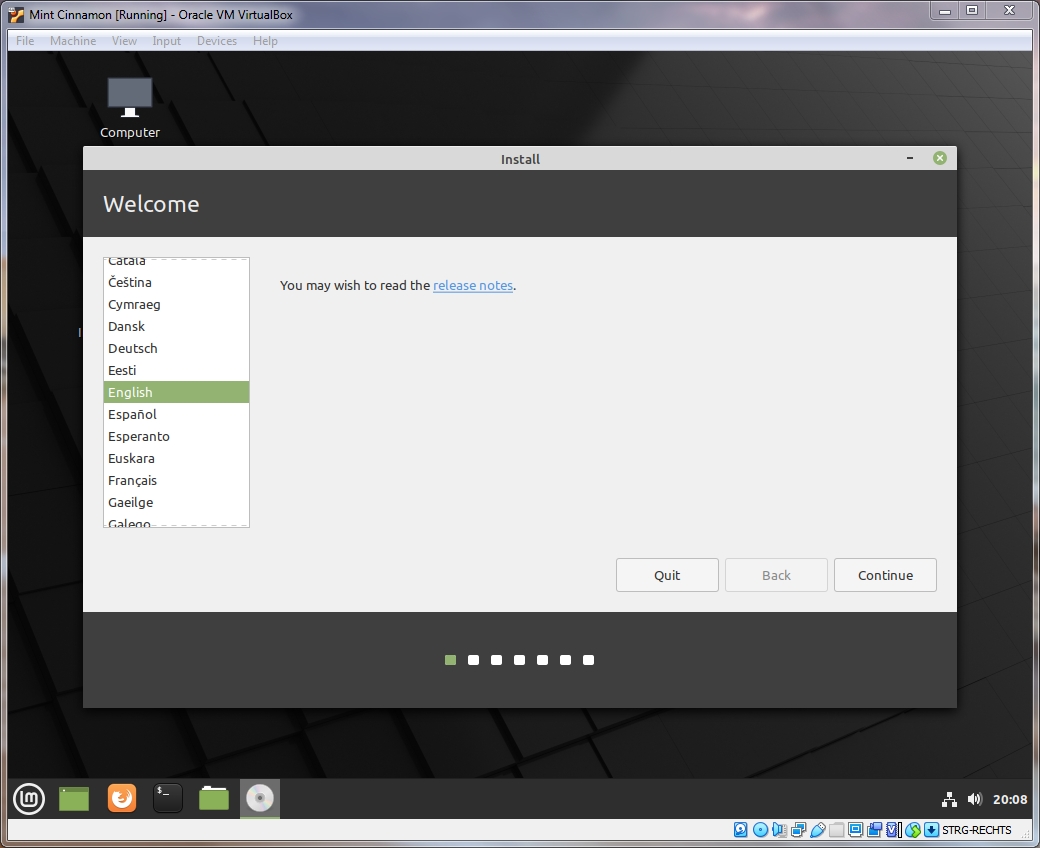
Starting the Linux Mint setup and selecting a language
Everything you do now before installing Mint is lost when you shut the virtual machine down or restart it. To start the setup, double click the Install Linux Mint icon on the desktop.
Start by selecting your language.
The keyboard layout is next. Make sure to use the one matching your physical keyboard. Test keys that are specific to your keyboard (like ä, ö, ü, ß in my case) in the box at the bottom if you are not sure if you have selected the right one. Or use the handy Detect keyboard layout option.

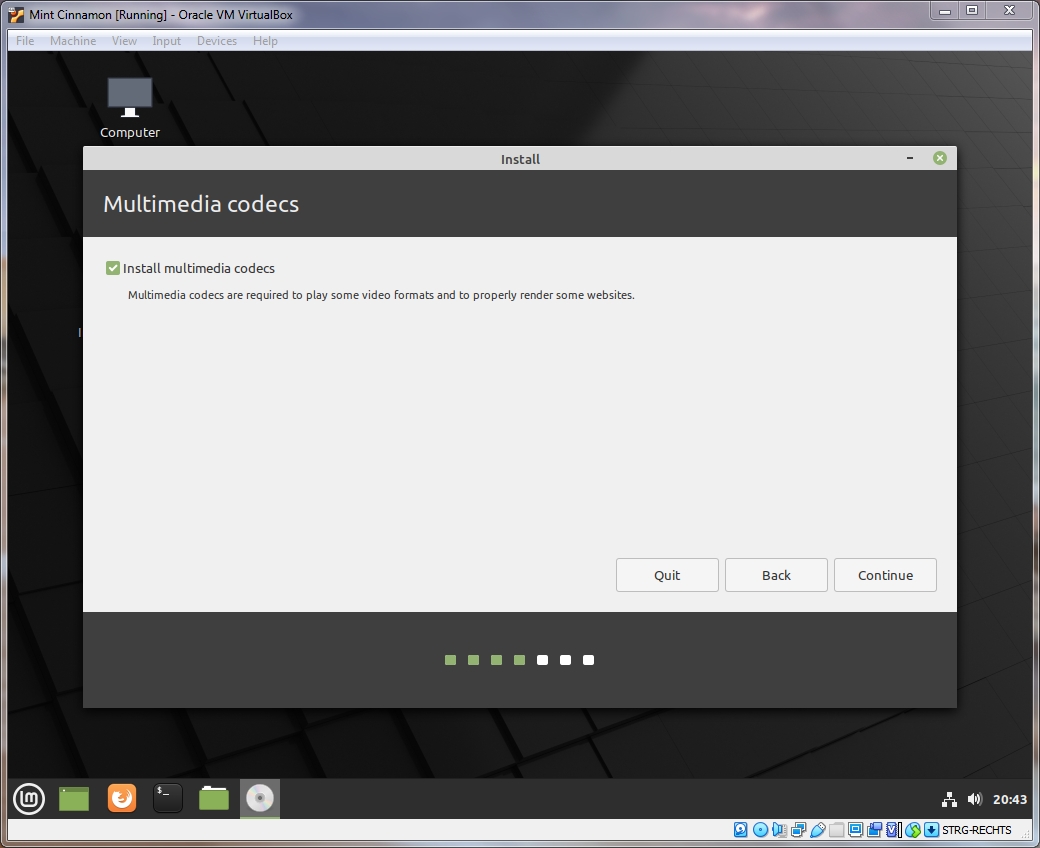
Multimedia codecs
Now select if you want to install multimedia codecs. Doing so improves Mint’s ability to open various file formats. I suggest enabling this option. The installer might take a moment before the setup continues after you have pressed Continue; that’s perfectly normal.
Partition configuration
We now need to decide how and where on the virtual disk we want to install Linux Mint. This happens on the 20Gb virtual disk we have created during the VirtualBox configuration before, this does not affect any data on your actual hard drive outside the virtual machine. You can’t accidentally delete anything on your computer, even if you tried.
If we were not using the VirtualBox and would instead install Linux Mint on our actual hard drive, we would see a third option that allows us to install Mint alongside Windows.
Select Erase disk and install Linux Mint, then click on Install Now.
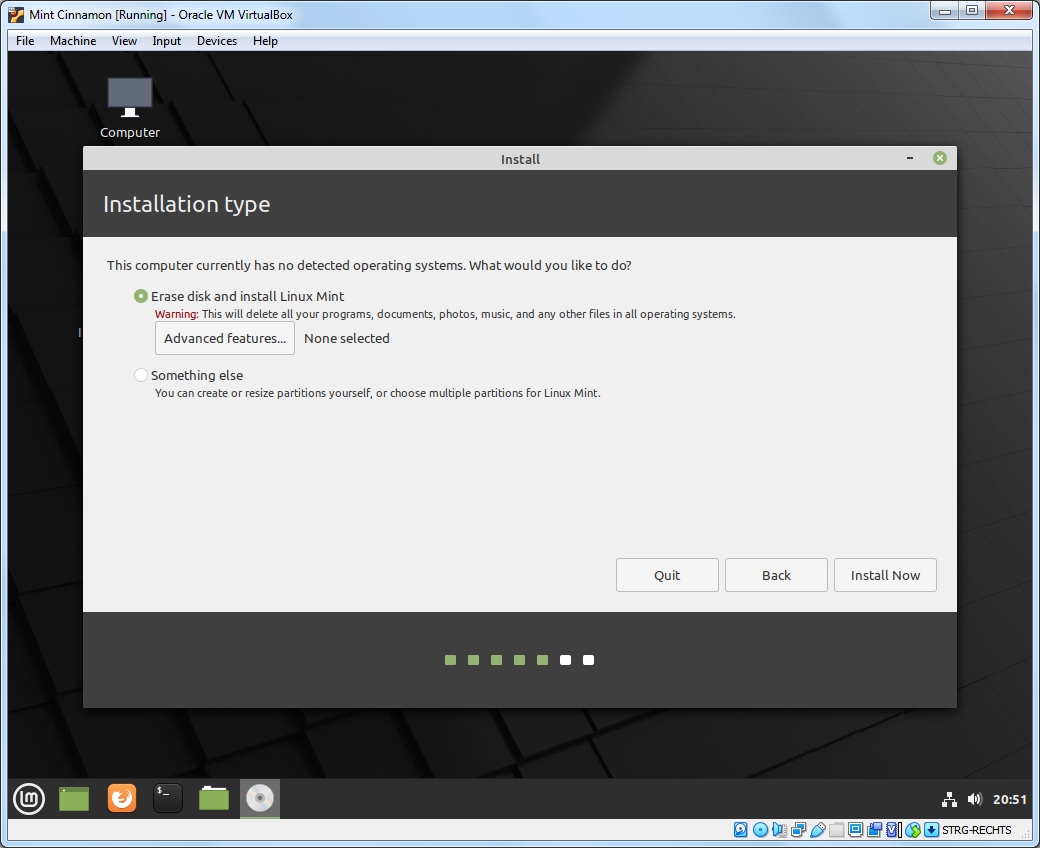
The setup will show you the changes that will be made. Click on Continue to confirm.

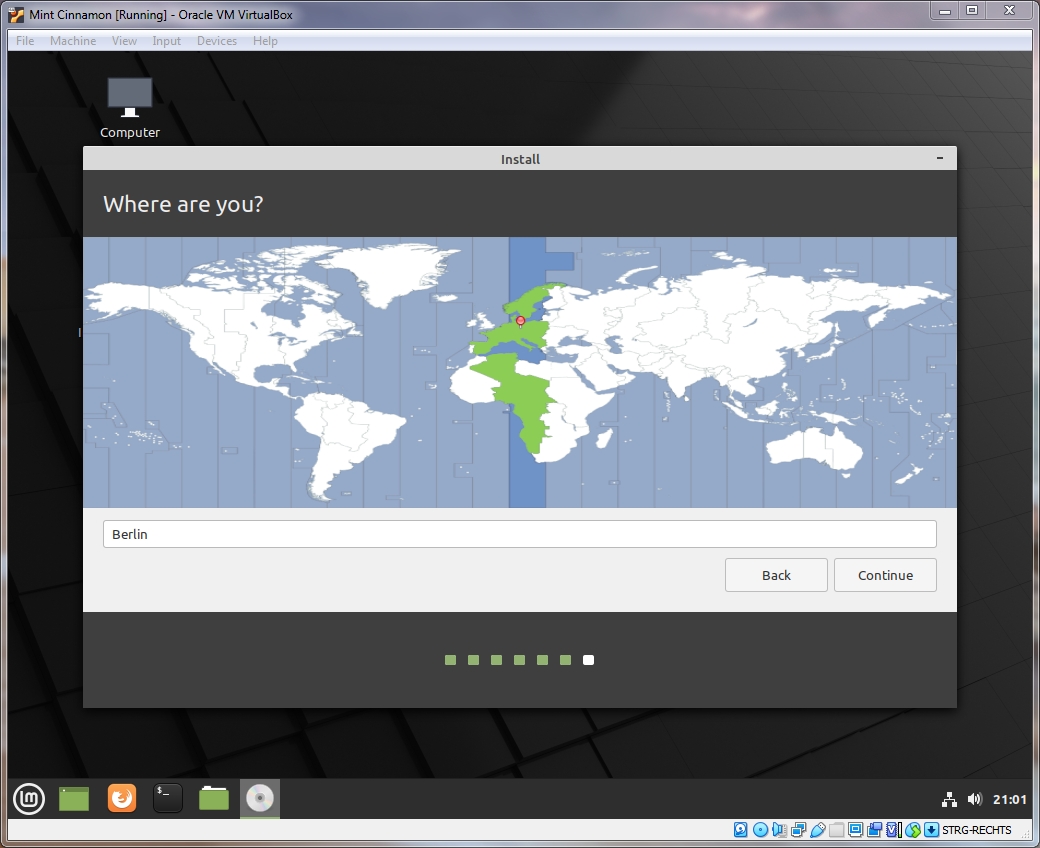
Location and clock
The setup then asks you about your general location, so it can adjust your computer clock to the correct time zone.
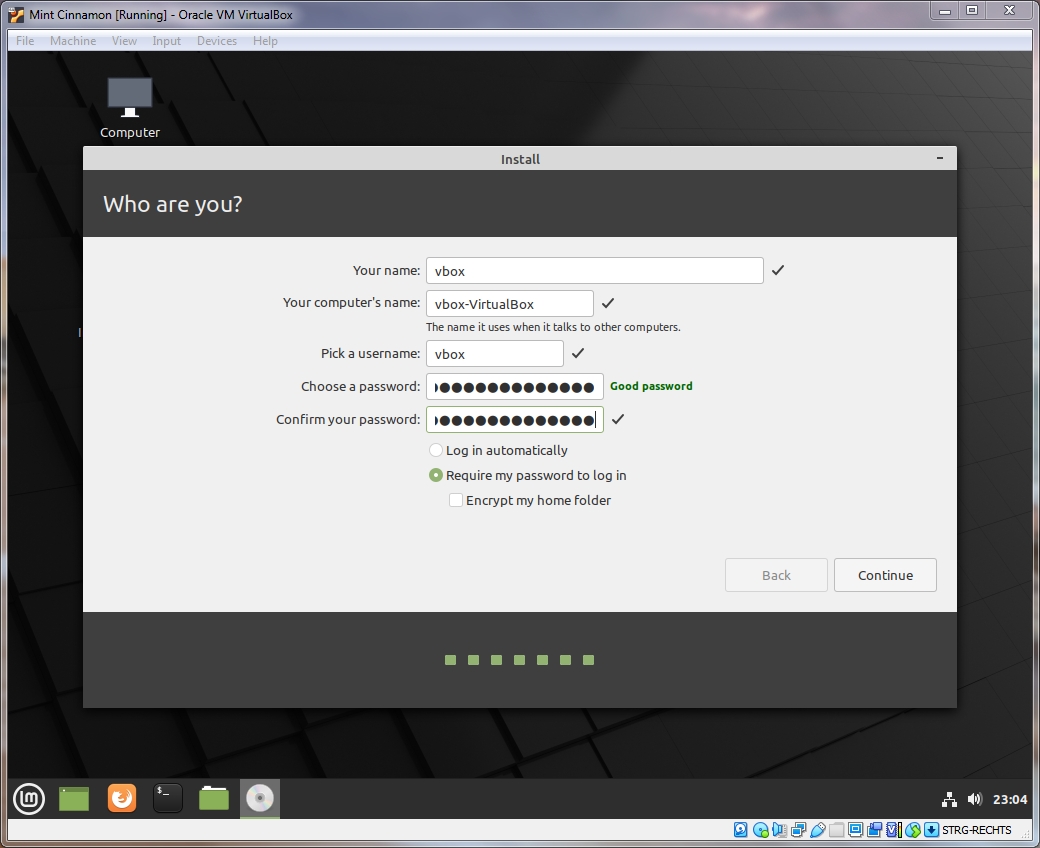
User account setup
Now set up your user account. You have to enter a password to proceed. The reason is that you do only have standard user privileges most of the time that don’t allow any deep changes to the system itself, like installing updates or software.
You might want to write the password down so you don’t forget it. If you should ever lose your password, read the Lost Password guide in Linux Mint’s documentation.
Every system critical action like installing updates or changing important system settings in a menu requires confirmation that you are actually allowed to do this. Your privileges are then elevated to perform this action and dropped again when you are done.
Enable Log in automatically if you don’t want to enter your password when Mint starts. You can change this setting later at any time.
You can also encrypt your Home folder. The home folder is comparable to Windows’ My Documents folder where all your personal user data is stored.
Click on Continue when you are content with all settings.
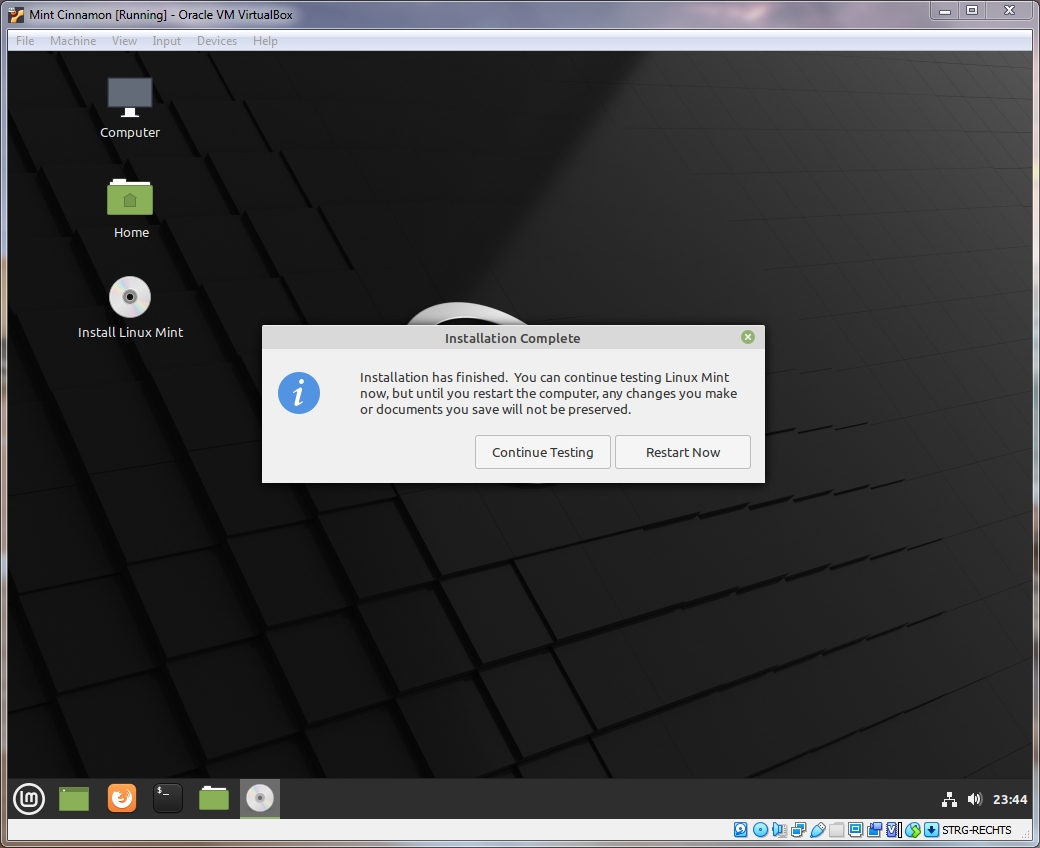
Setup end and restart
The setup will now start to install the system. You could use the waiting time to explore the start menu. The setup will let you know when it is done. Click on Restart Now.
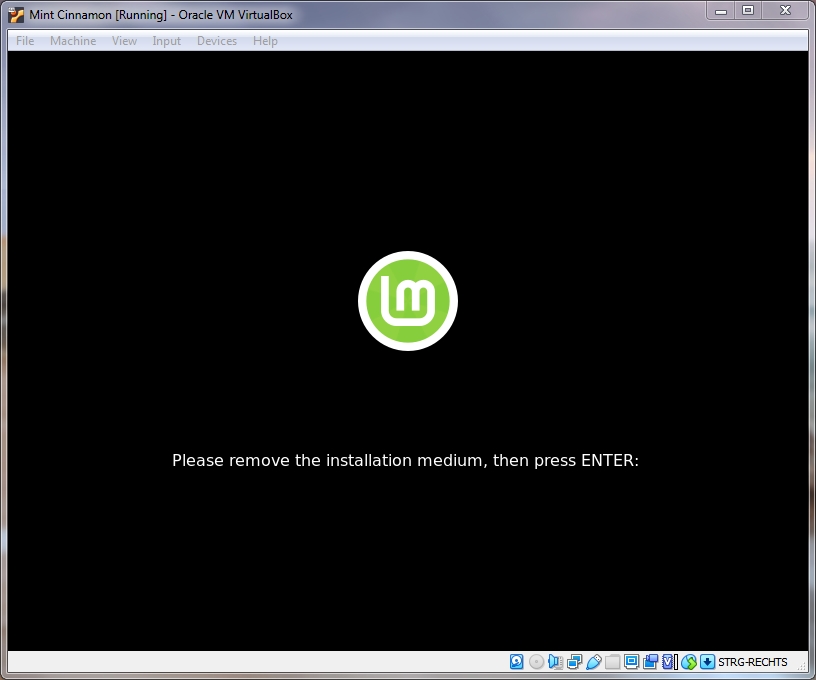
The screen will turn black and you are asked to remove the installation medium. You can ignore this message on a virtual machine, VirtualBox does this automatically for you. Just press enter.
Exploring your Linux Mint installation
Linux Mint will now finish restarting. The operating system is ready to use after the restart. I suggest reading through the Welcome menu that automatically appears.
The virtual machine saves all changes you make to the system, so all settings and files are safe when you shut Linux Mint down. Feel free to tinker and experiment as much as you like. When you break something beyond repair, just reinstall Mint.
Visit the Linux tutorials main page for more Linux tutorials.